If you run Facebook lead ads and manage your pipeline in Odoo CRM, you’ve probably discovered the awkward truth: Odoo has no native Meta integration. Your leads pile up in Facebook’s Leads Center while your sales team works from a CRM that never hears about them, unless someone remembers to download a CSV.
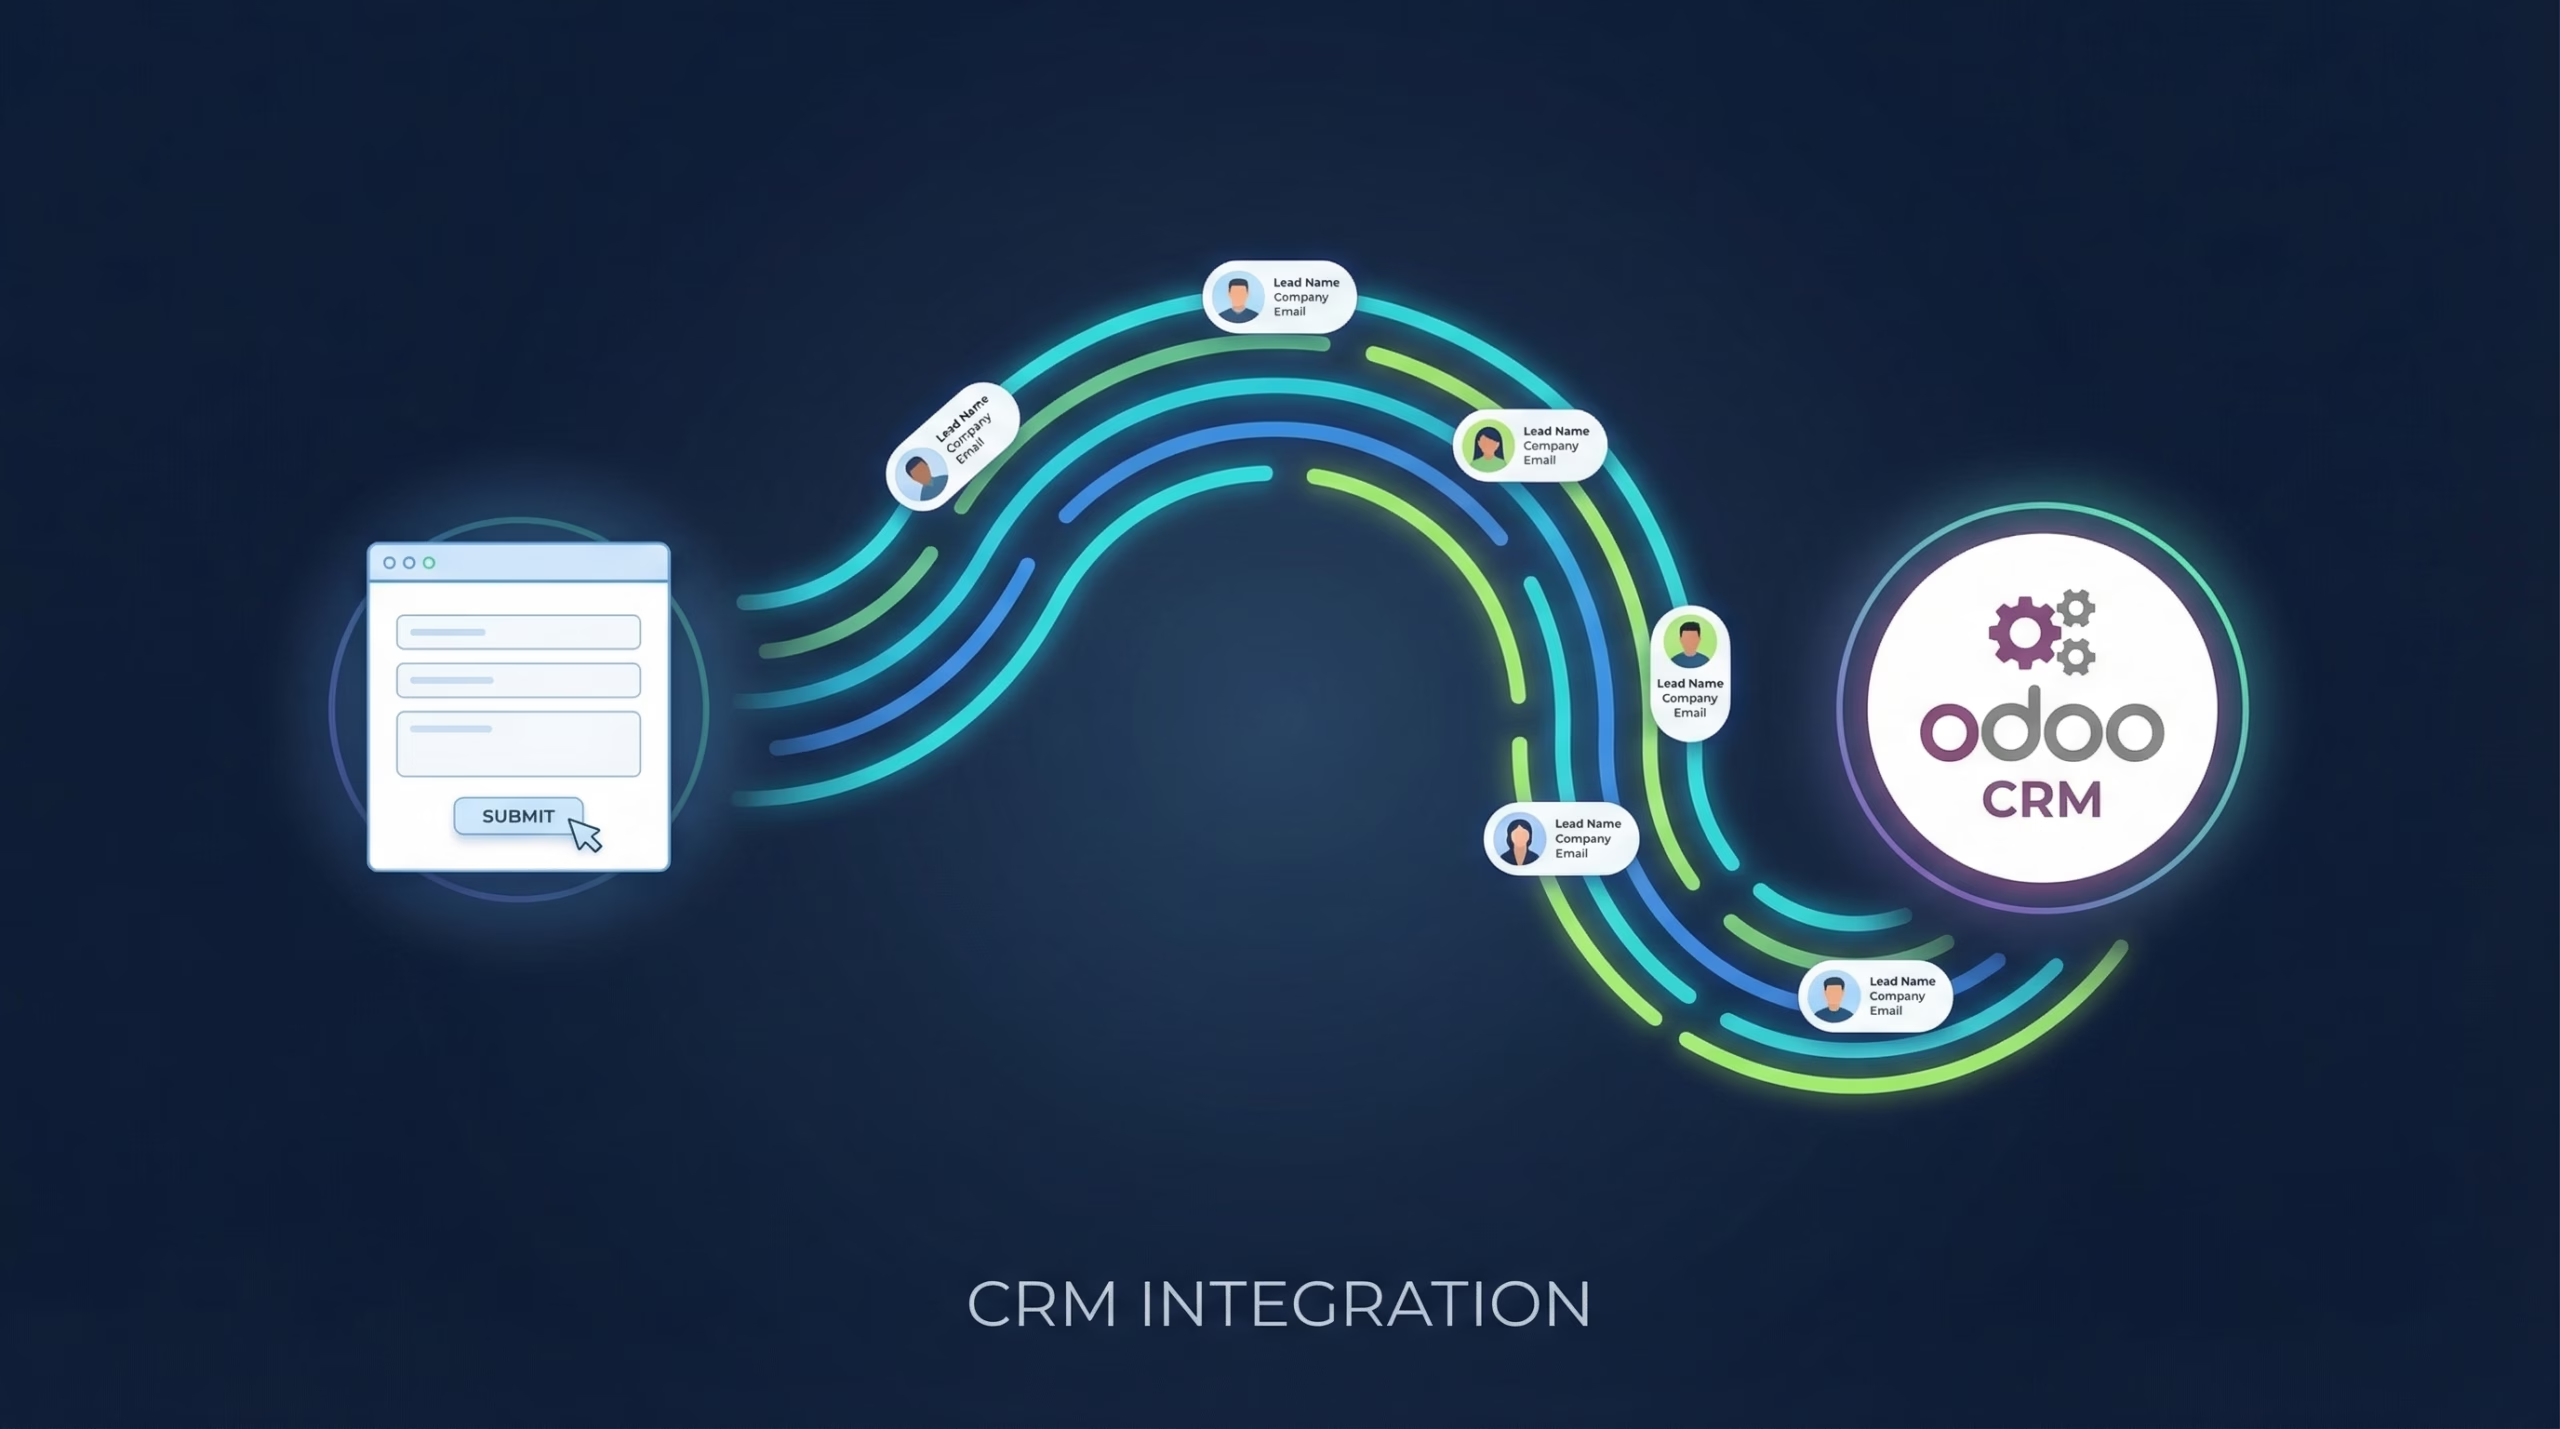
This guide shows you how to send Facebook leads to Odoo automatically with LeadSync, so every new lead lands in your Odoo pipeline within a minute or two of the form submission. Setup takes about five minutes.
Why Connect Facebook Lead Ads to Odoo CRM?
Speed is the whole game with lead ads. Leads contacted within 5 minutes are 21x more likely to convert, yet the average business takes hours to follow up. When your leads flow straight into Odoo:
- Your sales team works from one place. No more checking Meta’s Leads Center or juggling CSV exports. New leads appear in the Odoo CRM pipeline alongside everything else.
- Follow-up starts immediately. Odoo’s activity scheduling, automated actions, and assignment rules can fire the moment a lead is created.
- Nothing falls through the cracks. Manual downloads mean missed days and duplicate handling. An automated sync means every lead is captured, every time.
- All your ad platforms centralize. LeadSync routes Google, LinkedIn, and TikTok leads into Odoo through the same pipe, so multi-channel campaigns land in one pipeline.
What You’ll Need
- A LeadSync account (free 7-day trial; Odoo requires a Business or Marketer plan)
- A published Facebook or Instagram lead form on a Page you administer
- An Odoo instance with CRM installed, plus your Odoo URL, database name, and username
Step 1: Connect Your Meta Business Account to LeadSync
- Log in to LeadSync and choose Meta Accounts → Add Account
- Click Add Meta Business Account
- Log in to Facebook and select the Business Portfolio you want to work with
- Add the Facebook Page running your lead ad campaigns
- Select the Meta Ad account you’re using
You’ll need Business Admin privileges on the Page. If you get stuck here, it’s almost always a permissions issue.
Step 2: Set Up Your Odoo CRM Connection
- In LeadSync, go to Connections from the left menu
- Click Add Connection and select Odoo CRM from the dropdown
- Enter your Odoo details:
- Odoo URL: your instance URL (e.g. https://yourcompany.odoo.com)
- Database: your Odoo database name
- Username: your Odoo login
- API Key: generated inside Odoo (next step)
- To generate the API key in Odoo: click your profile icon (top right), go to Preferences, open the Account Security tab, click New API Key, then copy it into LeadSync
- Name your connection (e.g. “Facebook Leads”) and click Update Connection
- Add at least one tag to the connection. Tags must already exist in Odoo, so create one there first (e.g. “Facebook Lead Ads”) if you haven’t
Tagging is worth the extra minute: your team can filter the Odoo pipeline by source at a glance, and you can report on Facebook-sourced revenue separately.
Step 3: Pair Your Facebook Lead Form with Odoo
- Go to Lead Forms → Add Facebook Lead Ads Form
- Select your Facebook Page and the exact lead form used in your ad
- Select the Odoo CRM connection you created in Step 2
- Map your form fields from Facebook to Odoo. Common mappings: Email → Email, Full Name → Contact Name, Phone → Phone
- Click Update Notification to save
If your lead form asks custom qualifying questions, create matching fields in Odoo CRM first, then map them here. If you split test forms or clone them often, choose All forms on this page (catch-all) instead of a specific form so new variants sync automatically.
Step 4: Test Your Facebook to Odoo Integration
Submit a test lead using Meta’s lead ads testing tool or LeadSync’s built-in tester. The lead should appear in the New stage of your Odoo CRM pipeline within 1-2 minutes.
If it doesn’t show up, check that:
- Your Meta account connection has Business Admin access to the Page
- The email field is mapped
- Your Odoo URL, database, username, and API key are correct
- The tag you selected still exists in Odoo
Still stuck? Work through our not receiving leads troubleshooting guide.
What Happens After Setup
Every new Facebook or Instagram lead is created in Odoo with your mapped fields and tags. From there, standard Odoo CRM features take over:
- Assign leads to salespeople automatically with Odoo’s sales team rules
- Schedule follow-up activities the moment a lead arrives
- Score and prioritize leads using your custom fields from the ad’s qualifying questions
- Report on Facebook-sourced pipeline separately using your connection tag
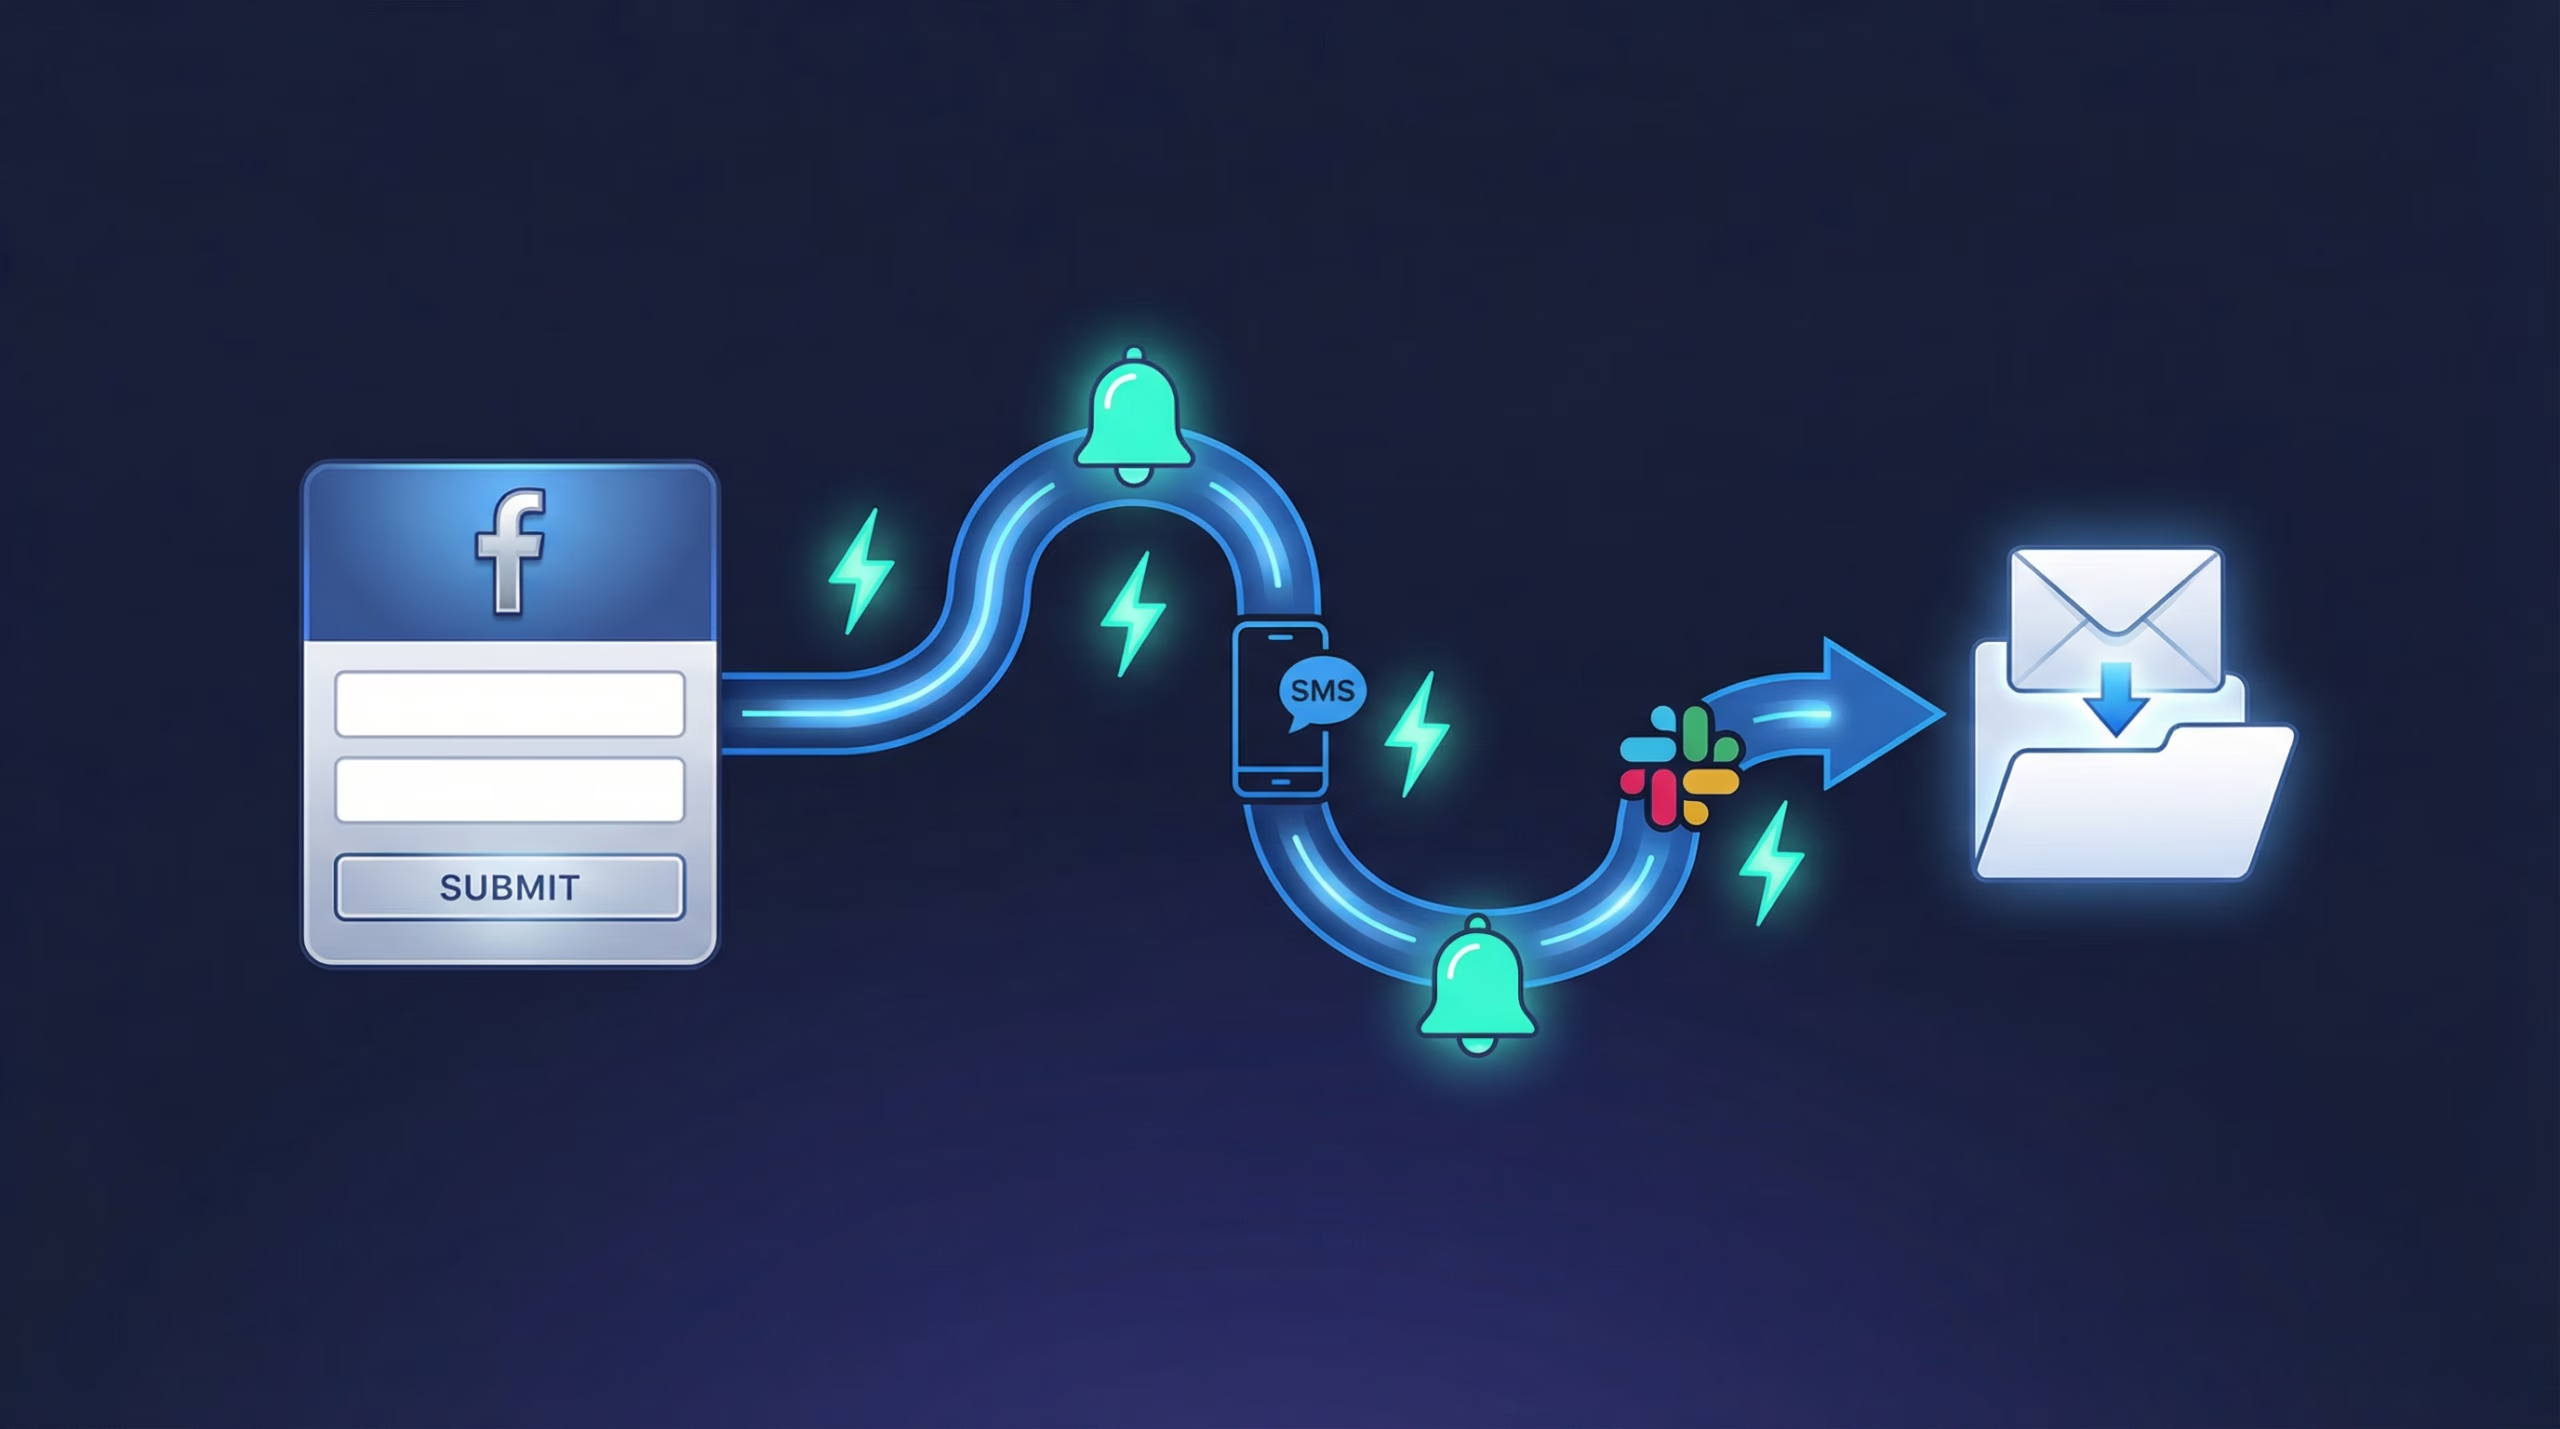
Want an instant heads-up as well? Add an email notification or SMS connection to the same lead form, so your reps know about the lead even before they open Odoo.
Frequently Asked Questions
Does Odoo have a native Facebook lead ads integration?
No. Odoo does not offer a built-in connector for Meta lead ads. Without a sync tool, leads stay in Meta’s Leads Center until you manually export a CSV. LeadSync connects the two so new leads appear in Odoo CRM automatically.
How fast do Facebook leads appear in Odoo?
Within 1-2 minutes of form submission. LeadSync receives the lead from Meta’s API in real time and creates the record in your Odoo CRM pipeline immediately.
Do I need coding knowledge to set this up?
No. You need to generate an API key inside Odoo (a few clicks under Preferences, then Account Security), then paste it into LeadSync along with your Odoo URL, database name, and username. Field mapping happens in a visual interface.
Does this work with Instagram lead ads too?
Yes. Instagram lead forms run on the same Meta Instant Forms infrastructure as Facebook. One LeadSync connection delivers leads from both platforms into Odoo the same way.
Can I send Facebook leads to Odoo and my email at the same time?
Yes. LeadSync supports multiple destinations per lead form, so a single submission can create an Odoo lead and send you an instant email or SMS notification simultaneously.
Which Odoo version do I need?
Any Odoo instance with API access works, including Odoo Online (yourcompany.odoo.com), Odoo.sh, and self-hosted installs. You just need your instance URL, database name, username, and an API key.
Related Integration Guides
Sending leads somewhere else as well? These guides walk through setup step by step:
- How to send Google Ads leads to Odoo CRM
- How to send Facebook leads to Salesforce
- How to send Facebook leads to Pipedrive
- How to send Meta leads to GoHighLevel
- The best CRM for Facebook leads
- How to send TikTok leads to Odoo CRM
- How to send LinkedIn leads to Odoo CRM
Ready to get your Facebook leads into Odoo automatically? Start your free 7-day LeadSync trial. Setup takes about five minutes and no credit card is required.