Facebook Ads
How to Connect Facebook Lead Ads to Your CRM (2026)
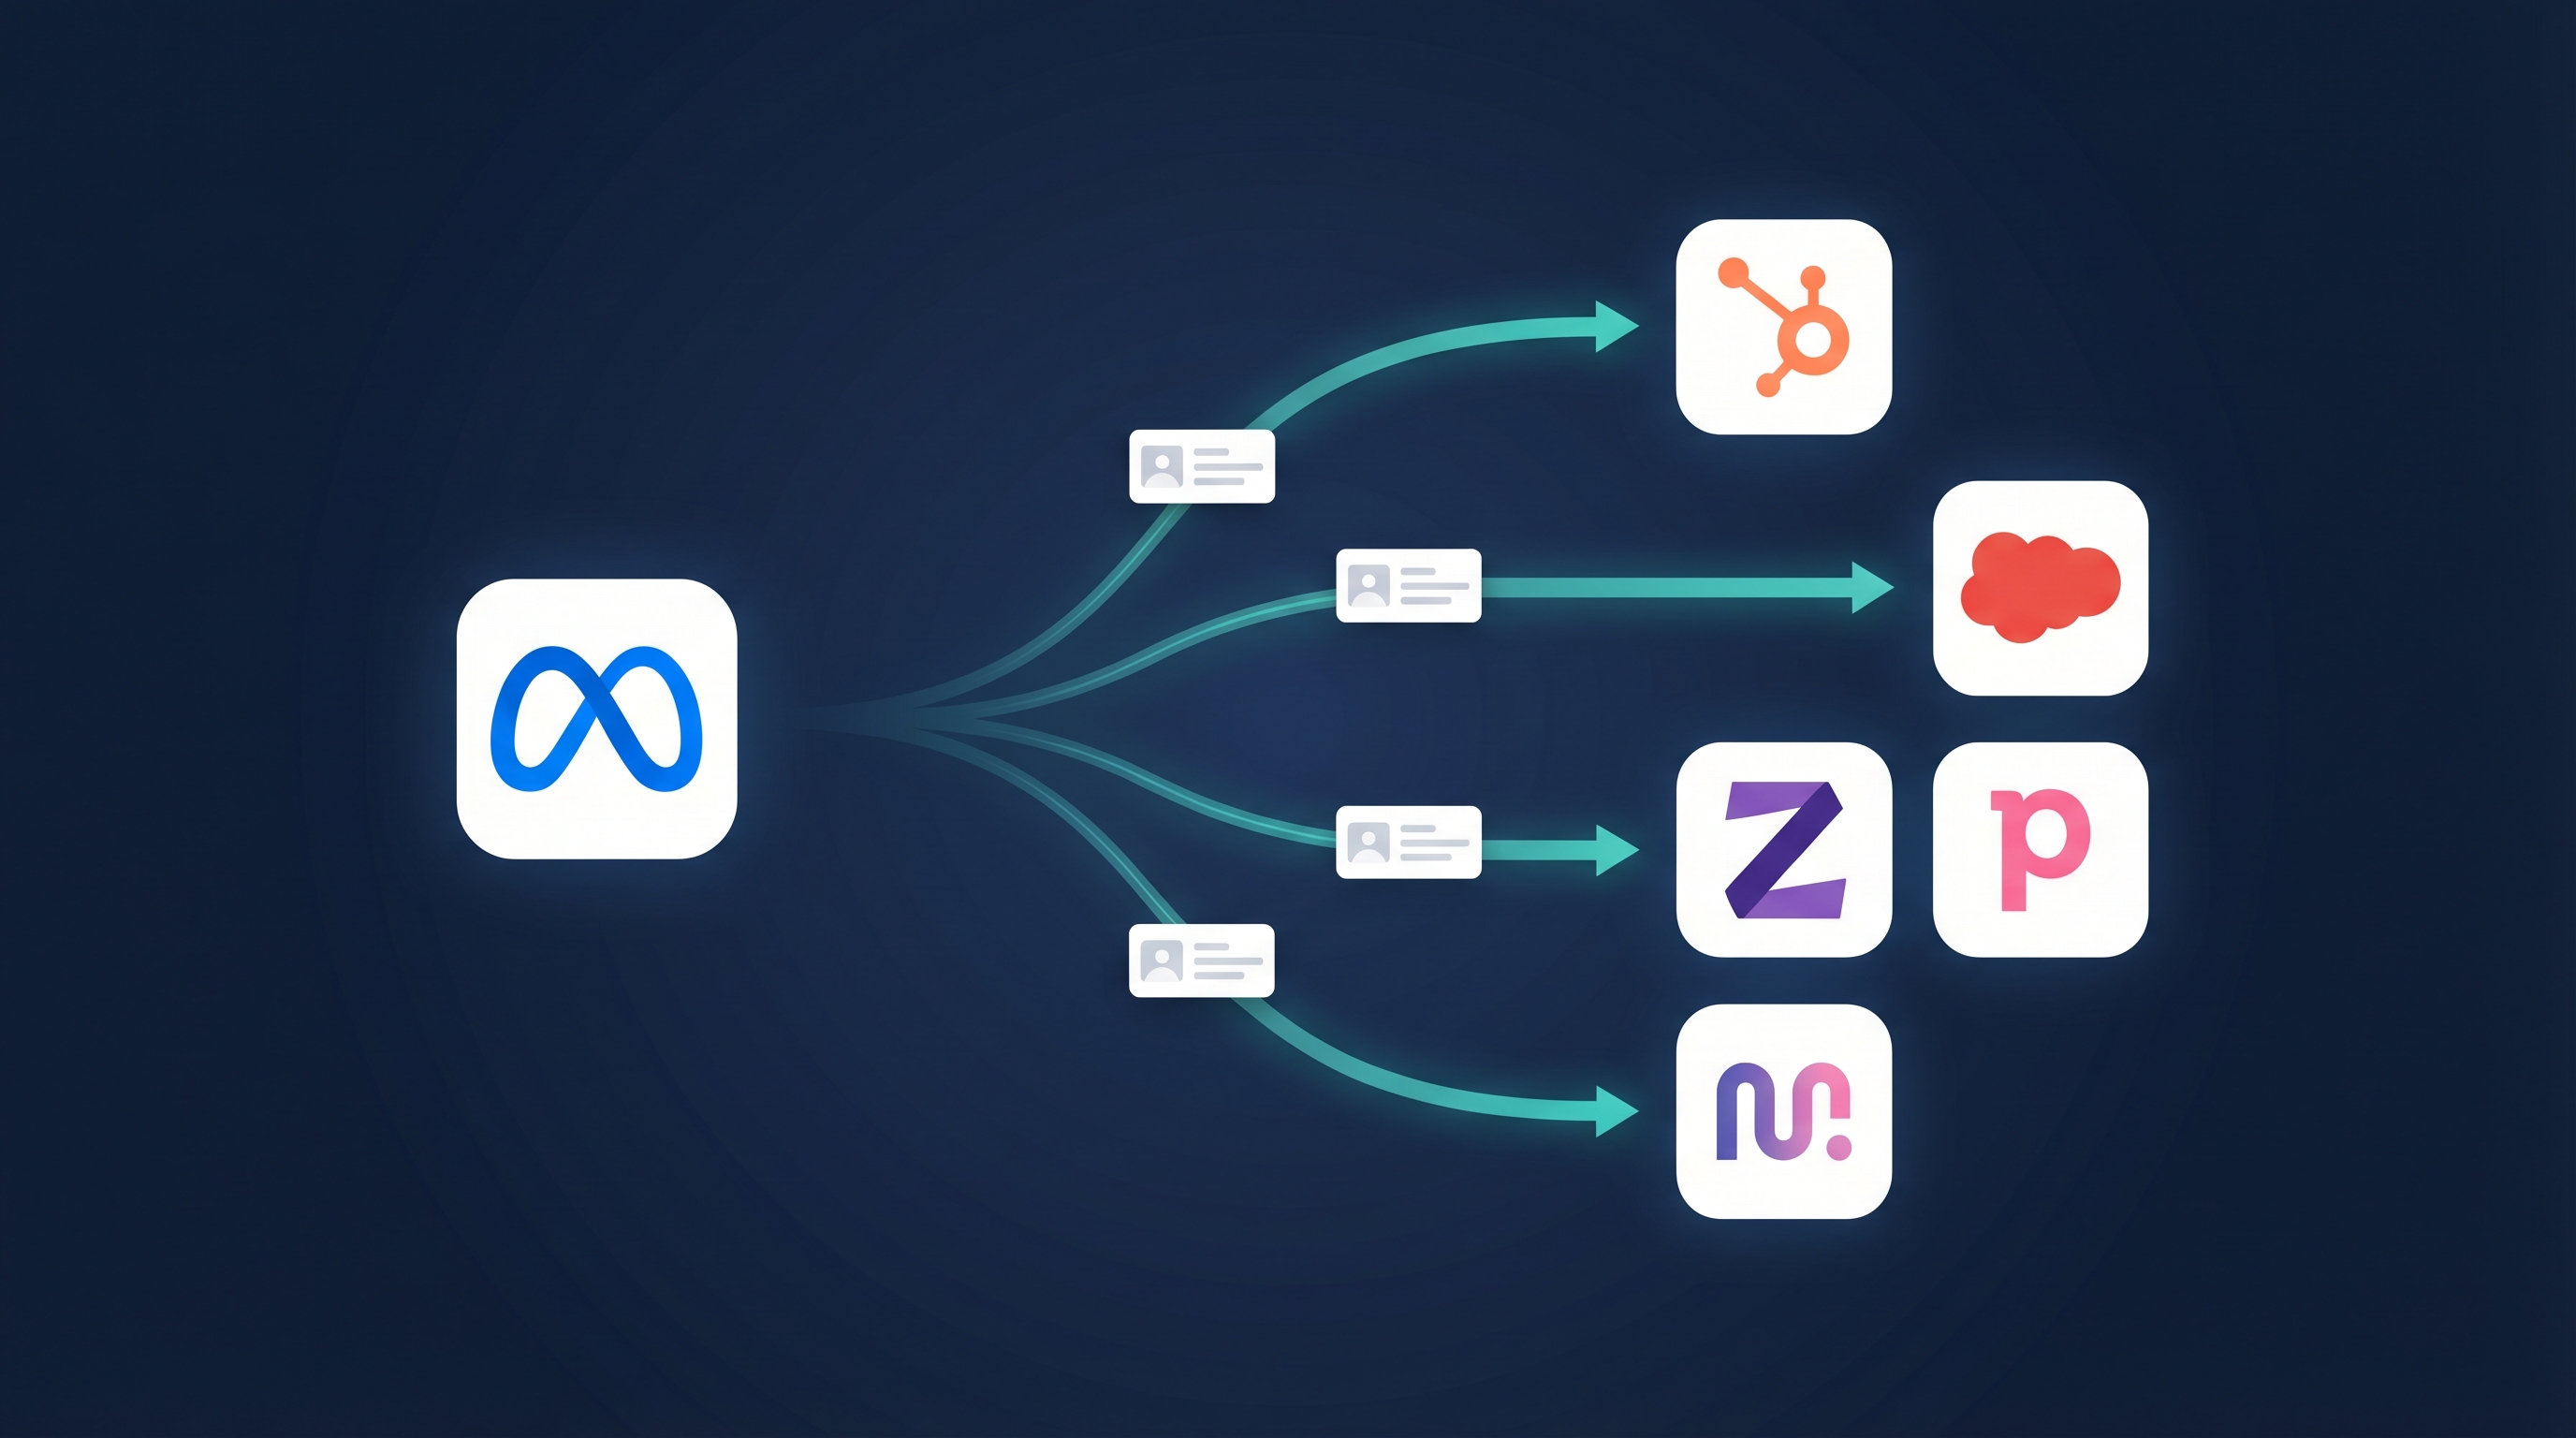
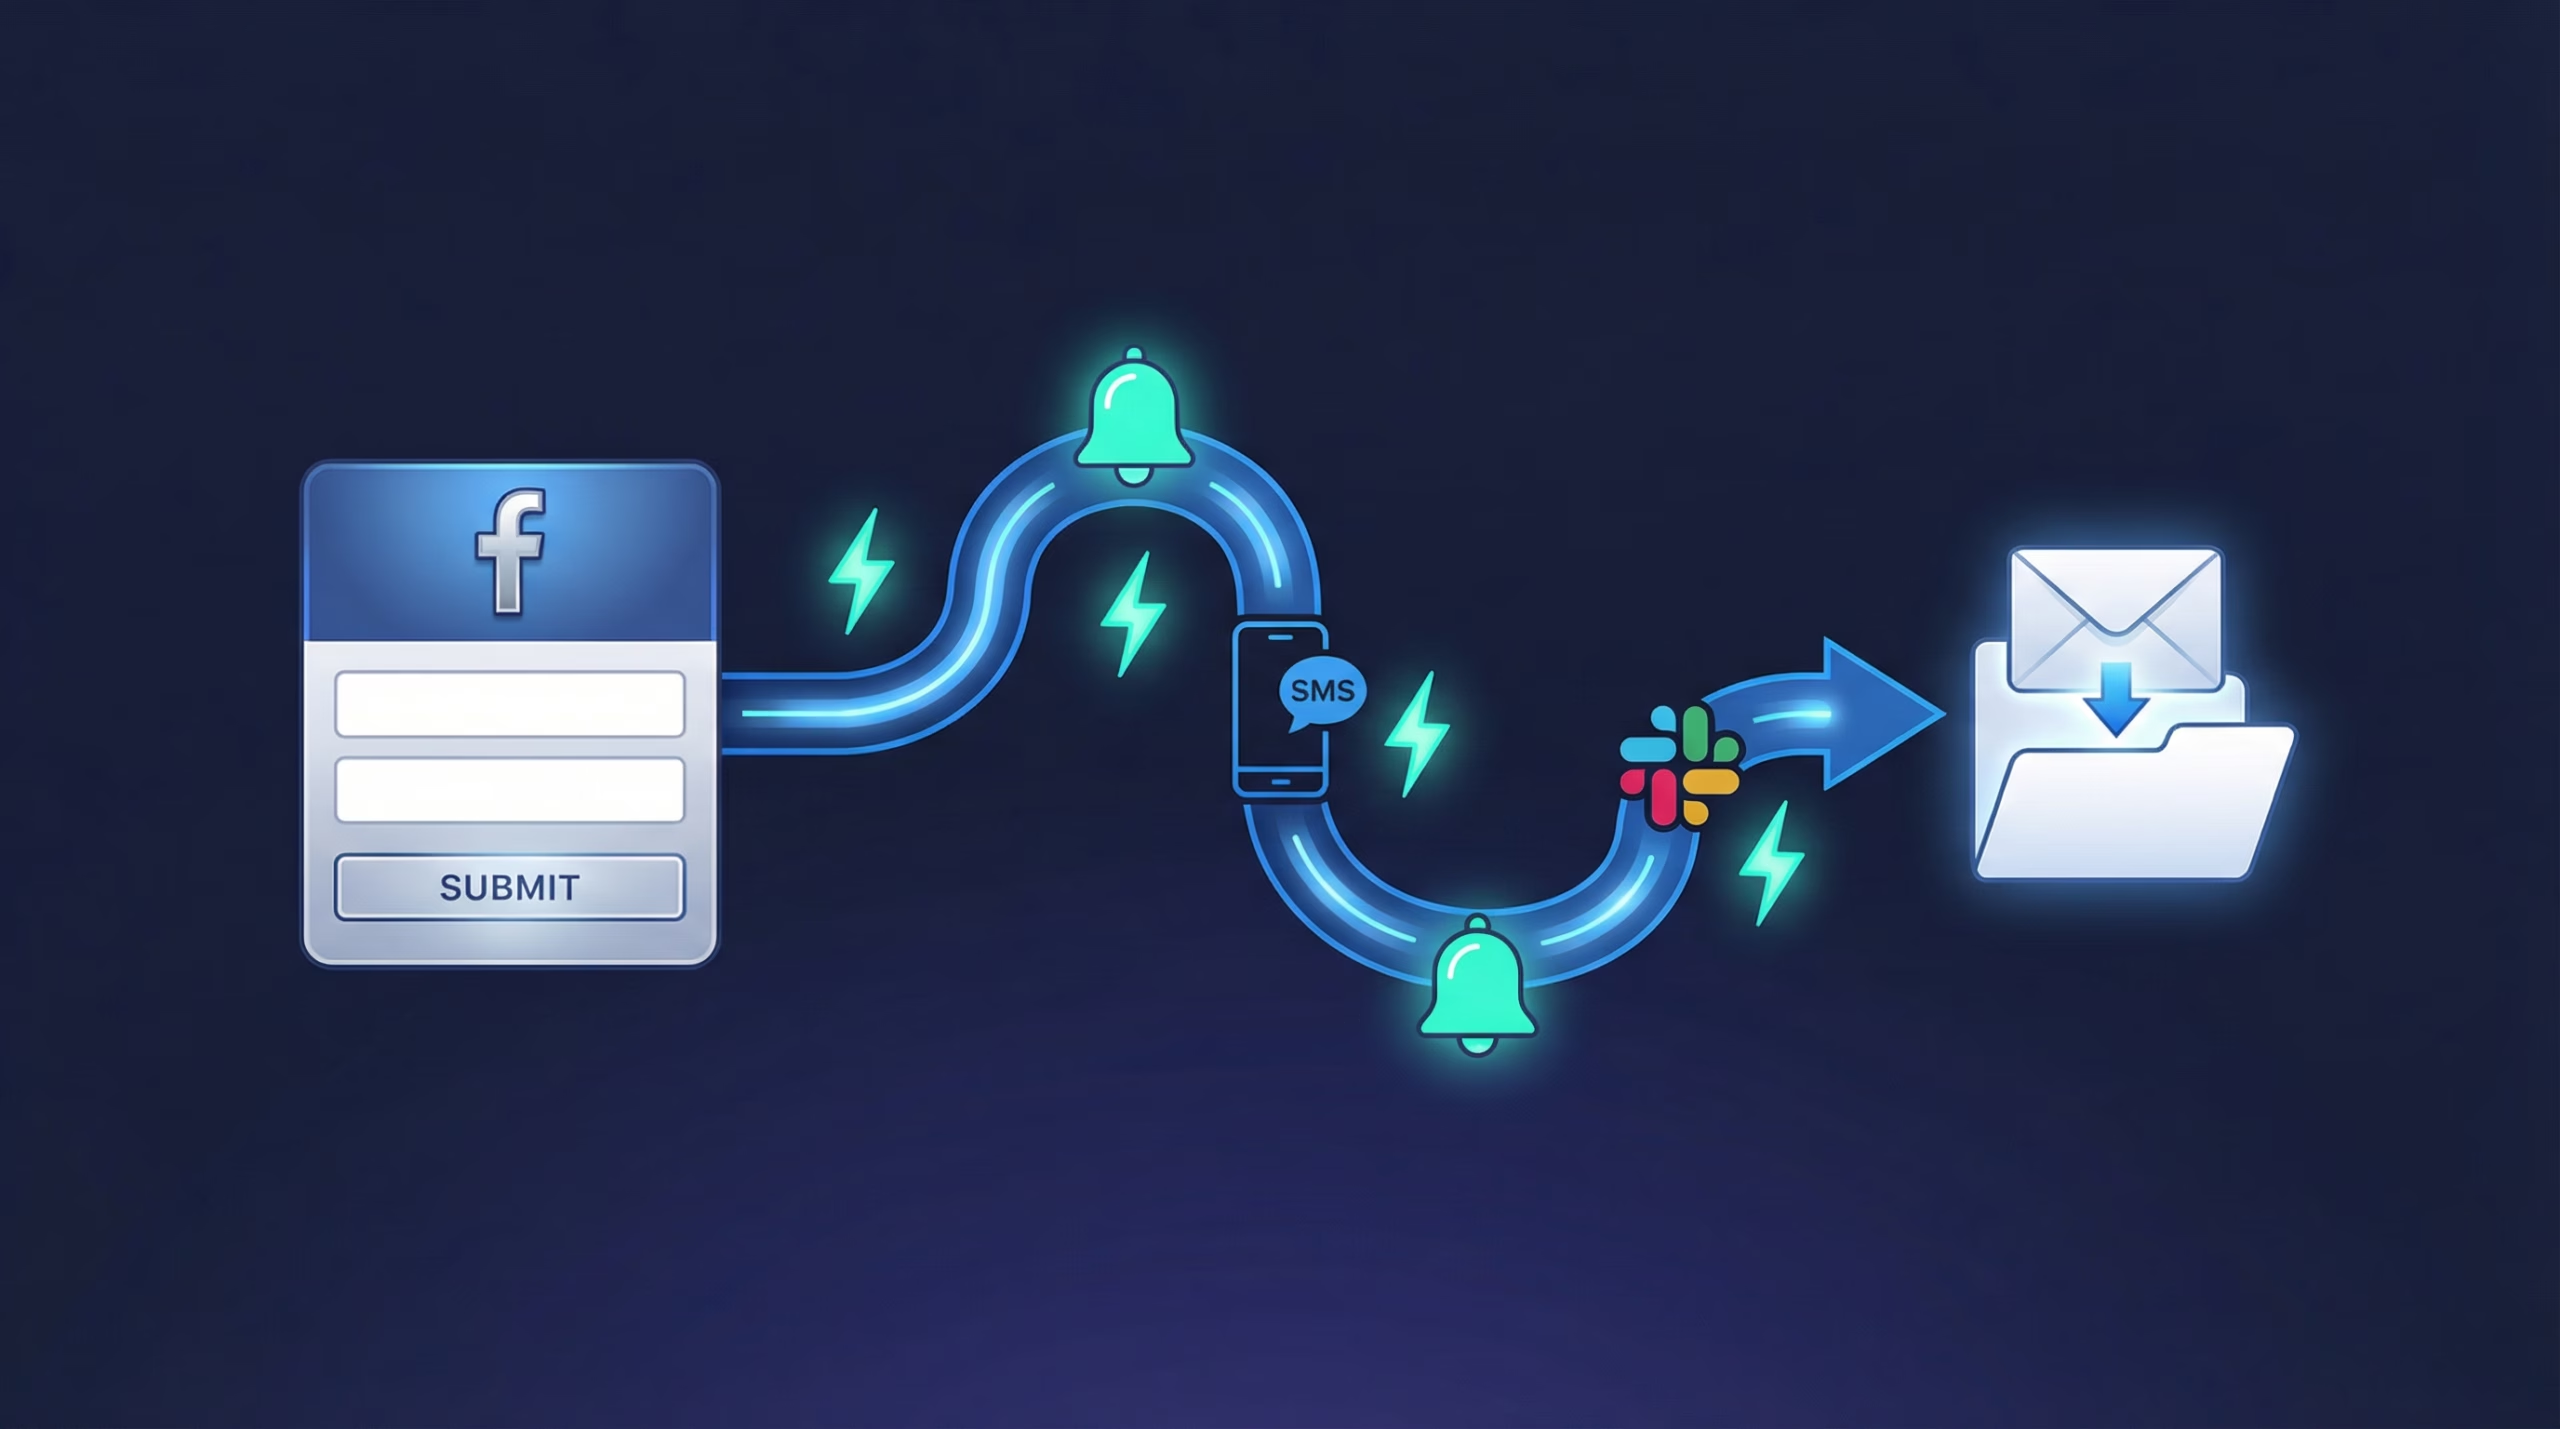
Facebook Lead Ads generate leads fast — but if those leads sit in Meta’s Ads Manager for hours before someone downloads them, they go cold. …
Tips, guides, and tutorials to get more from your lead ads.
Facebook Lead Ads generate leads fast — but if those leads sit in Meta’s Ads Manager for hours before someone downloads them, they go cold. …
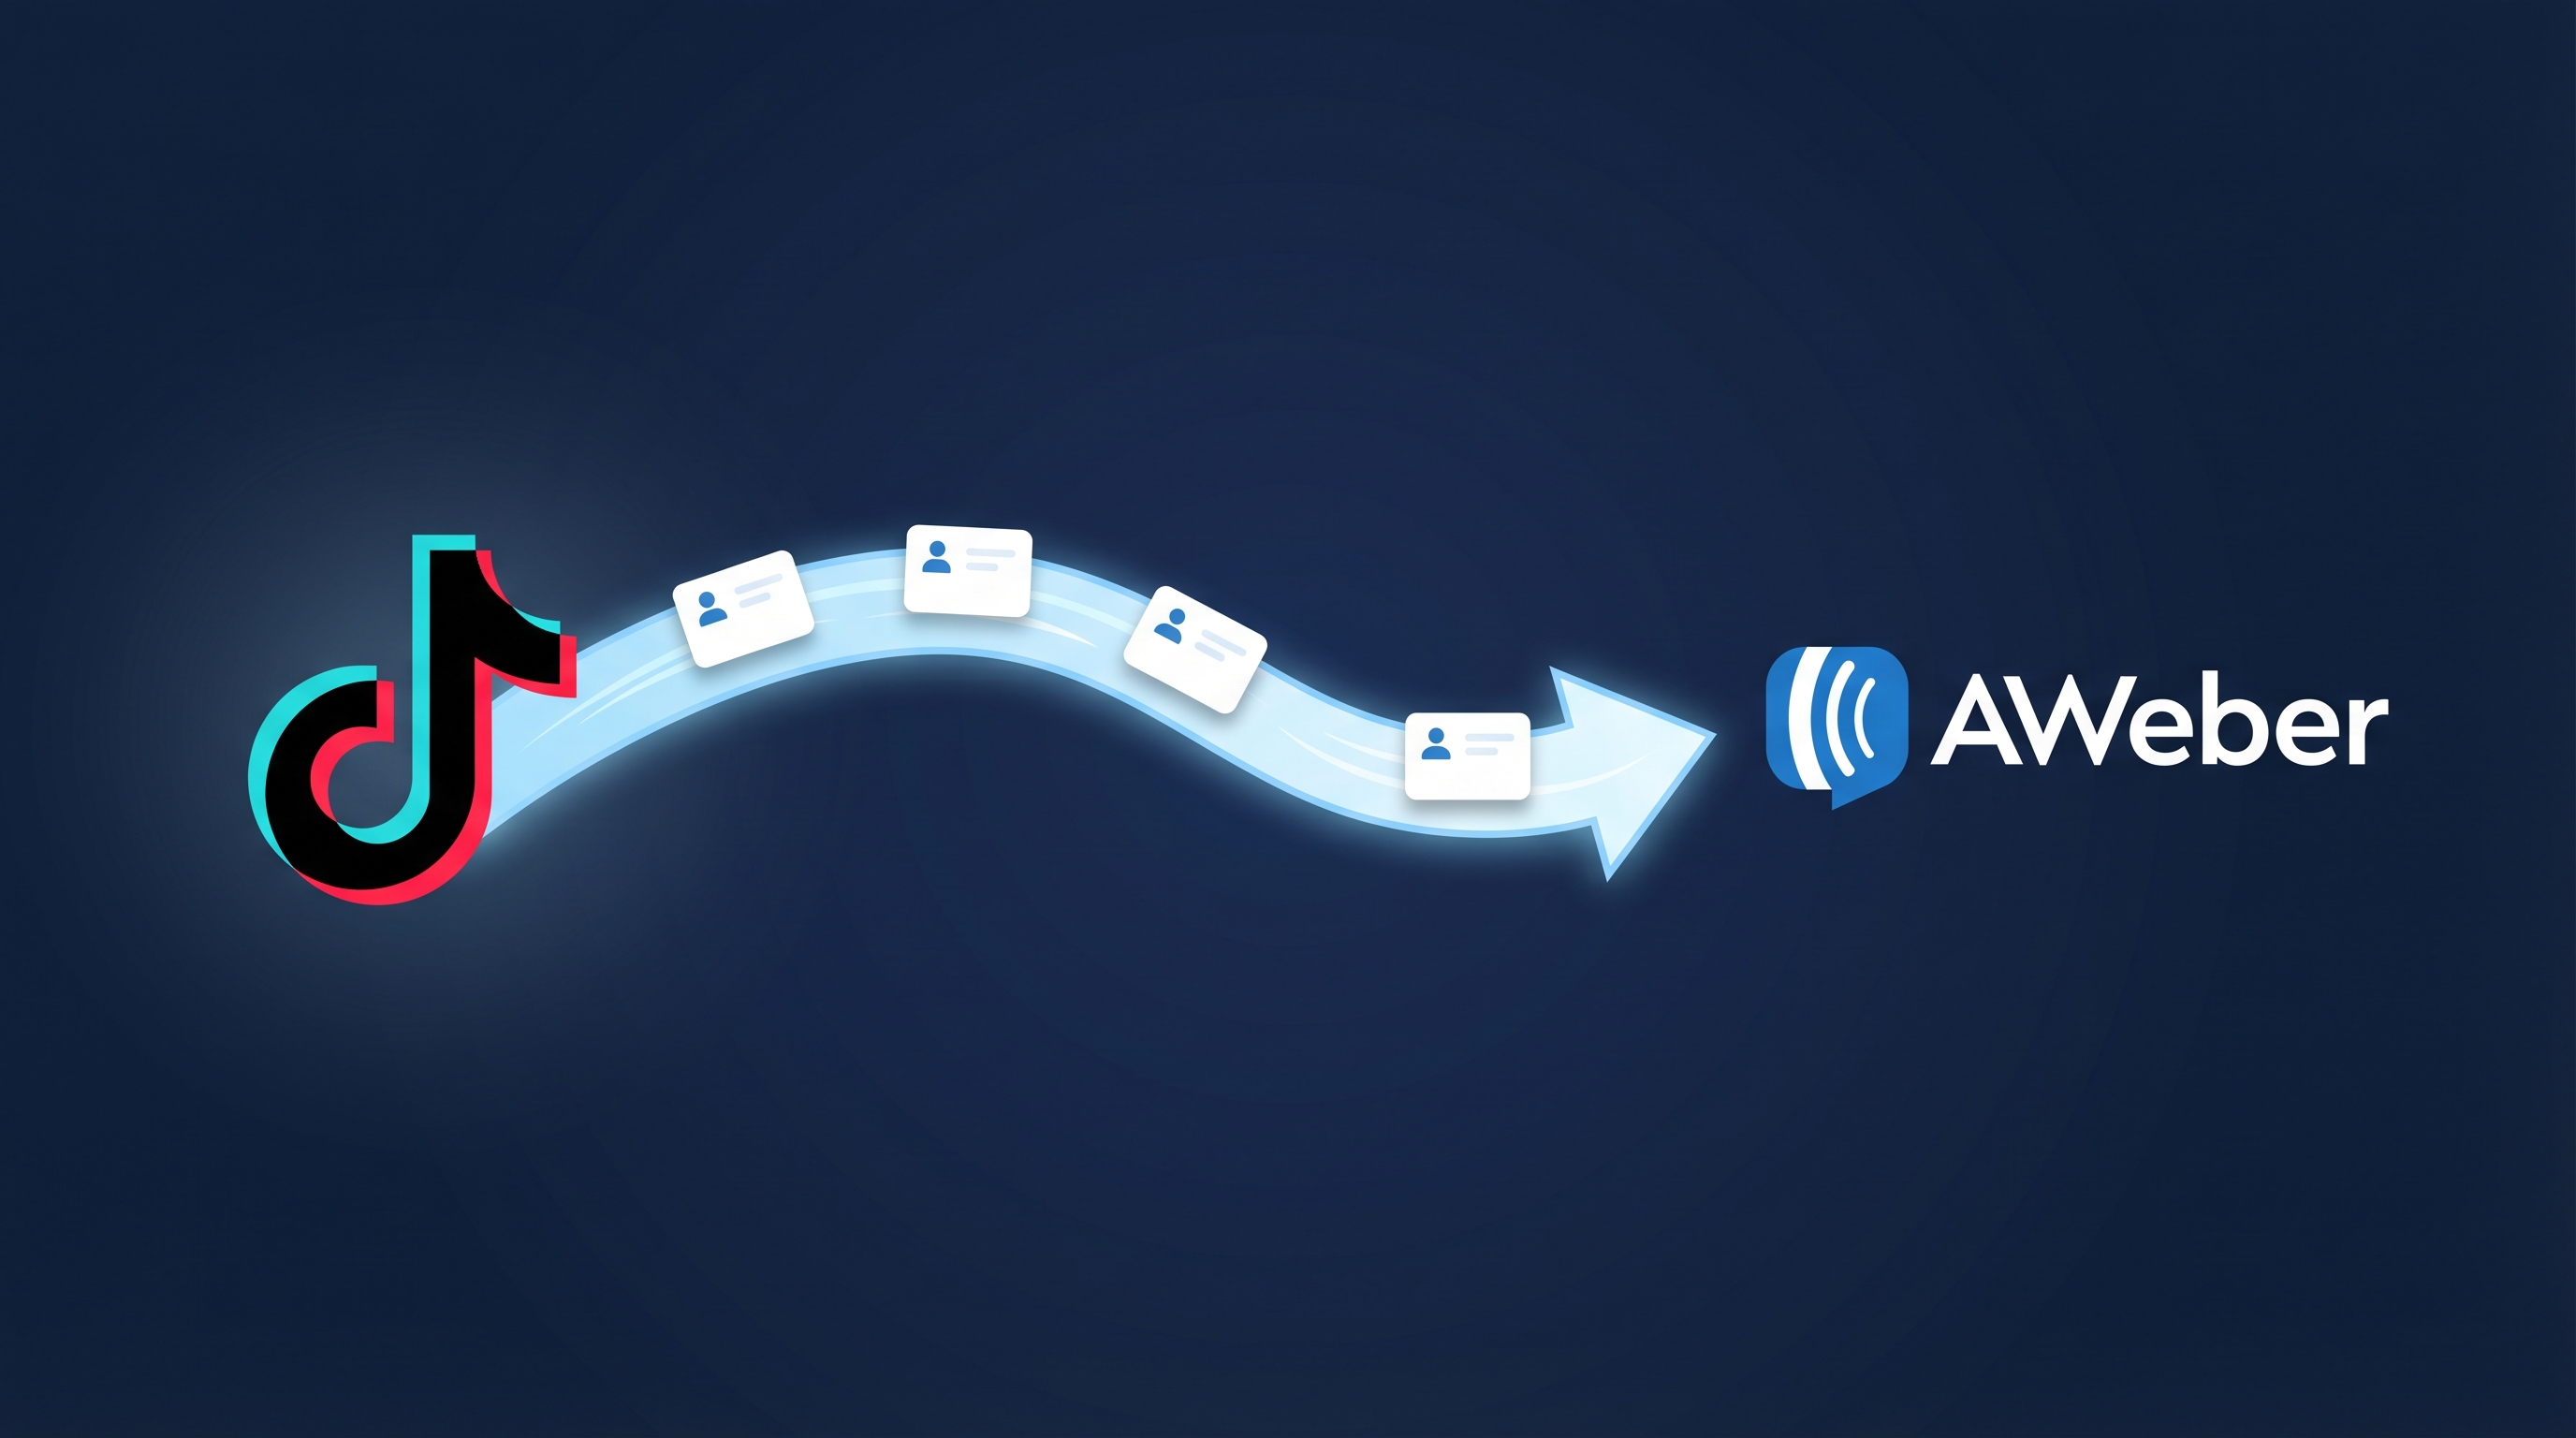
TikTok advertising is no longer optional for businesses serious about reaching new customers. With nearly 2 billion monthly active users worldwide and …
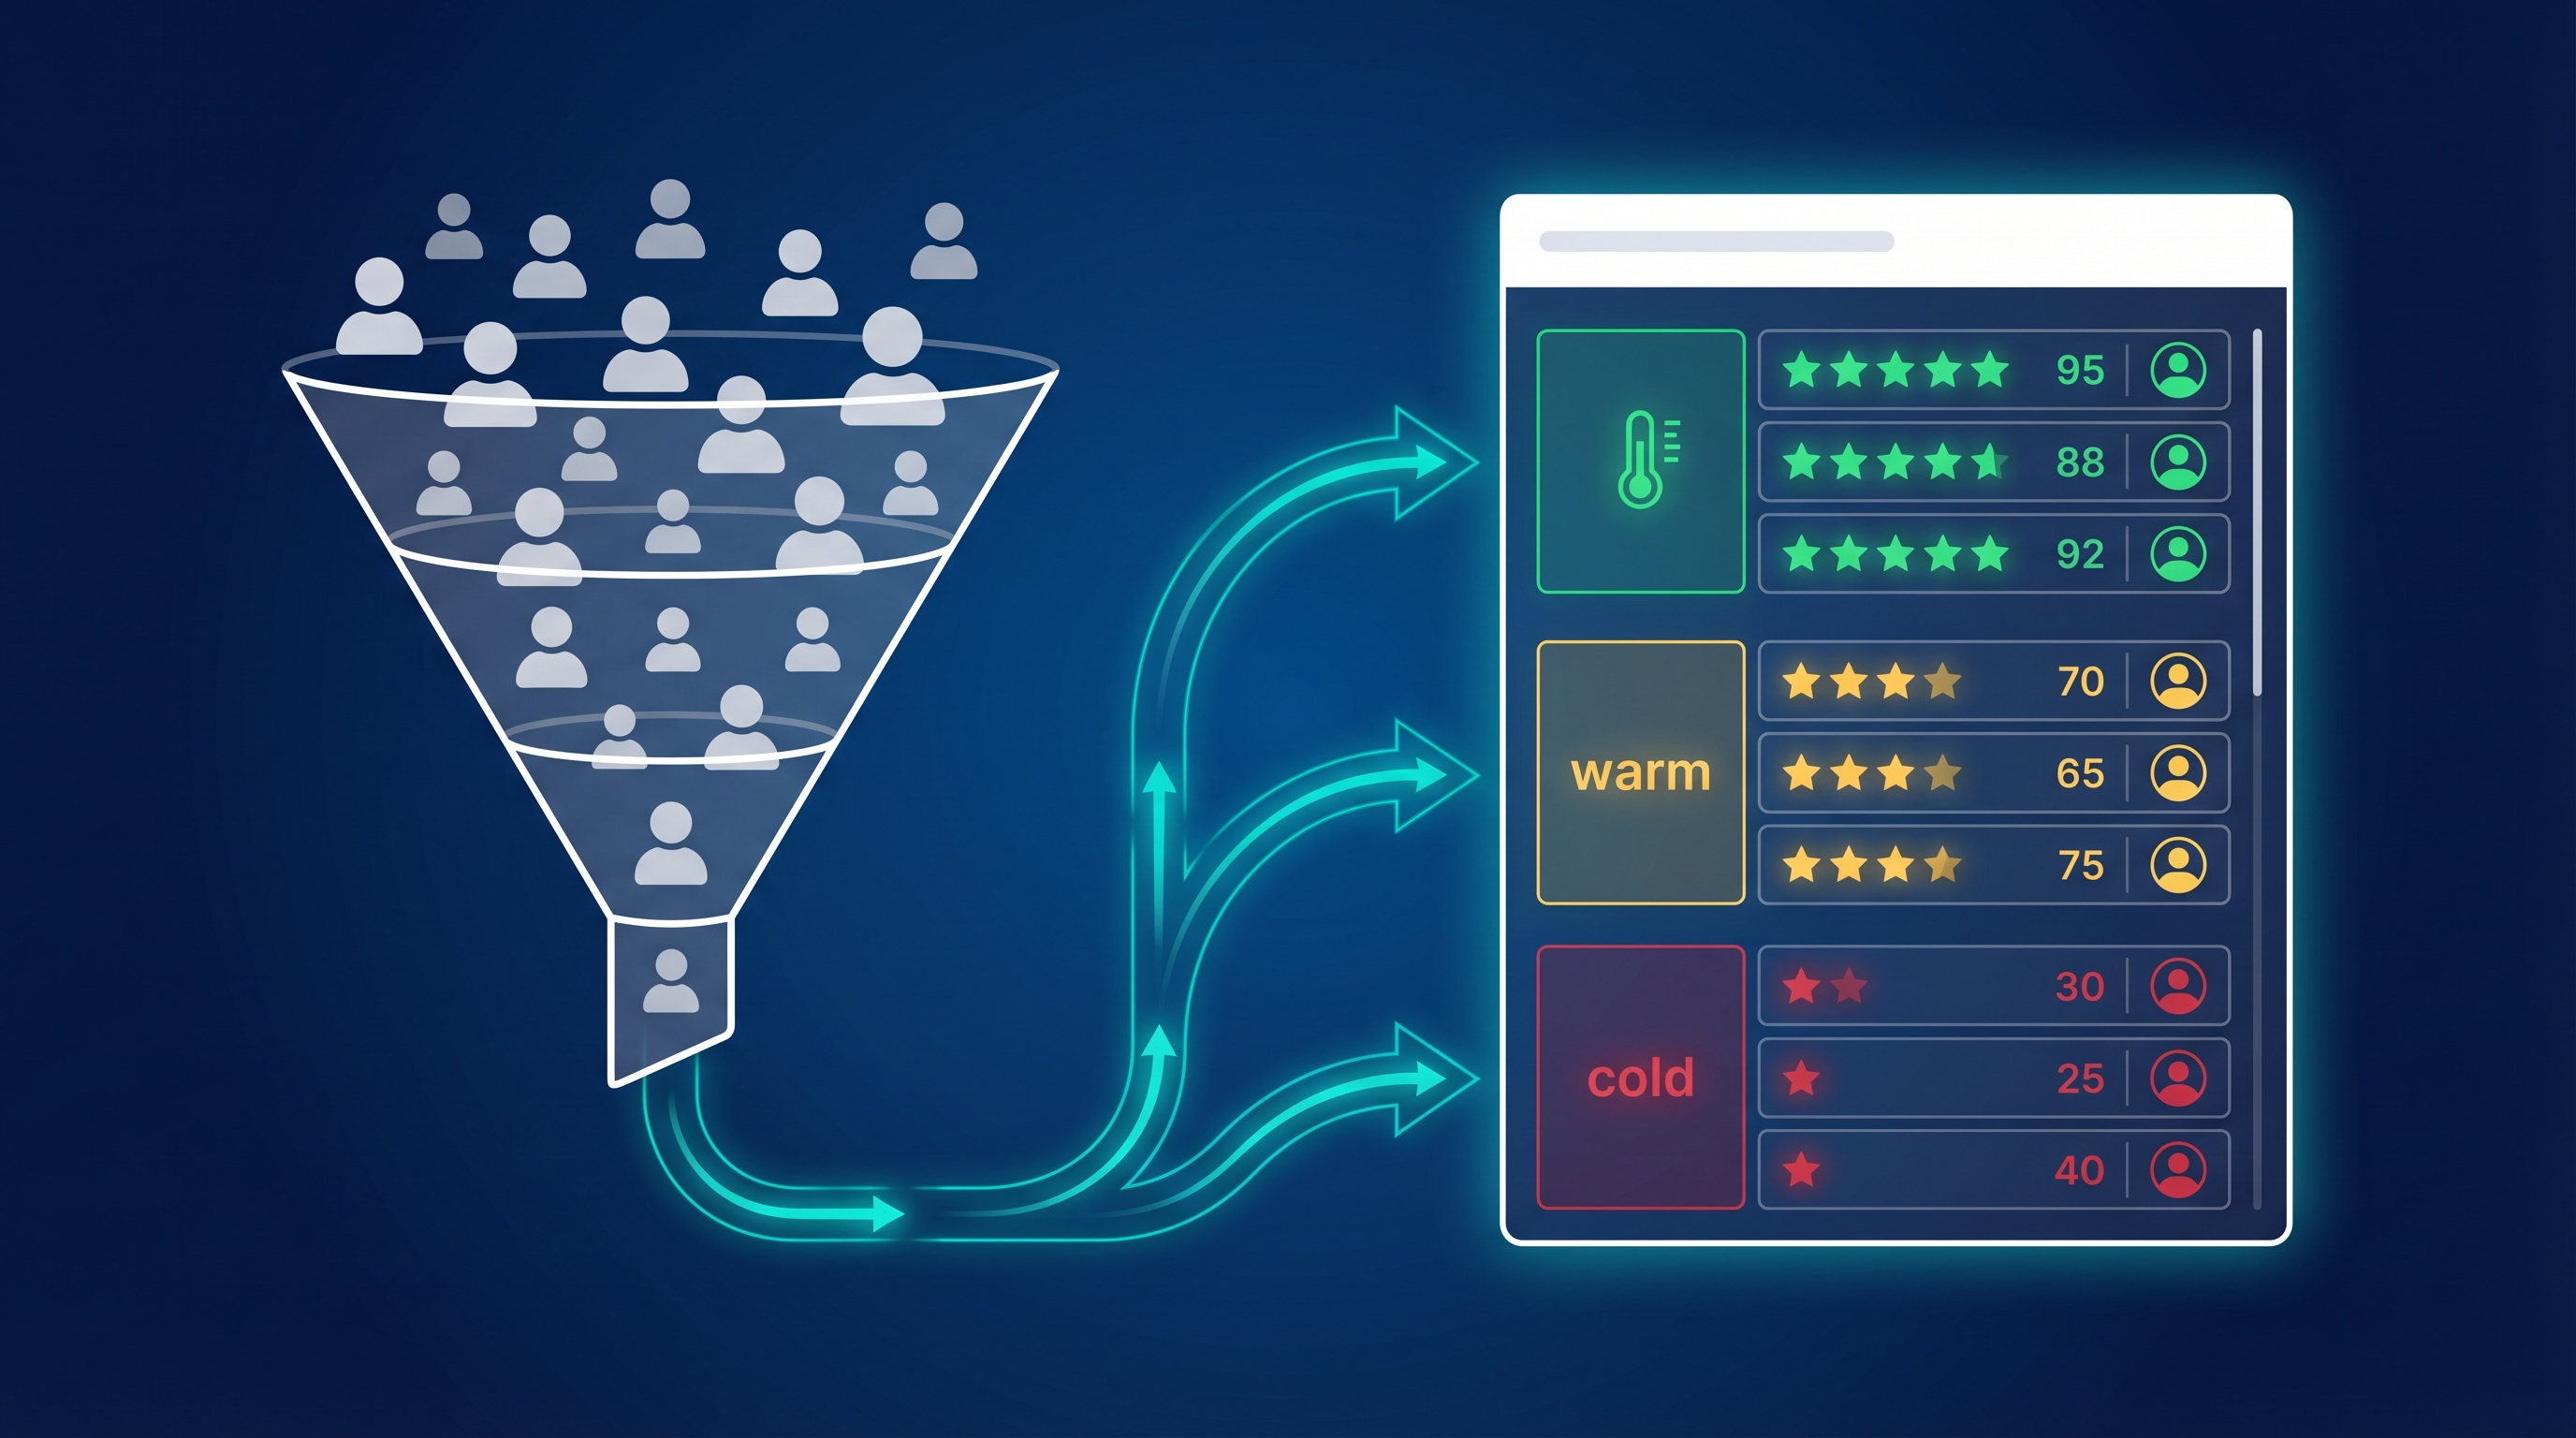
Lead scoring is how you figure out which leads to call first. Instead of treating every form submission equally, you assign points based on who the …
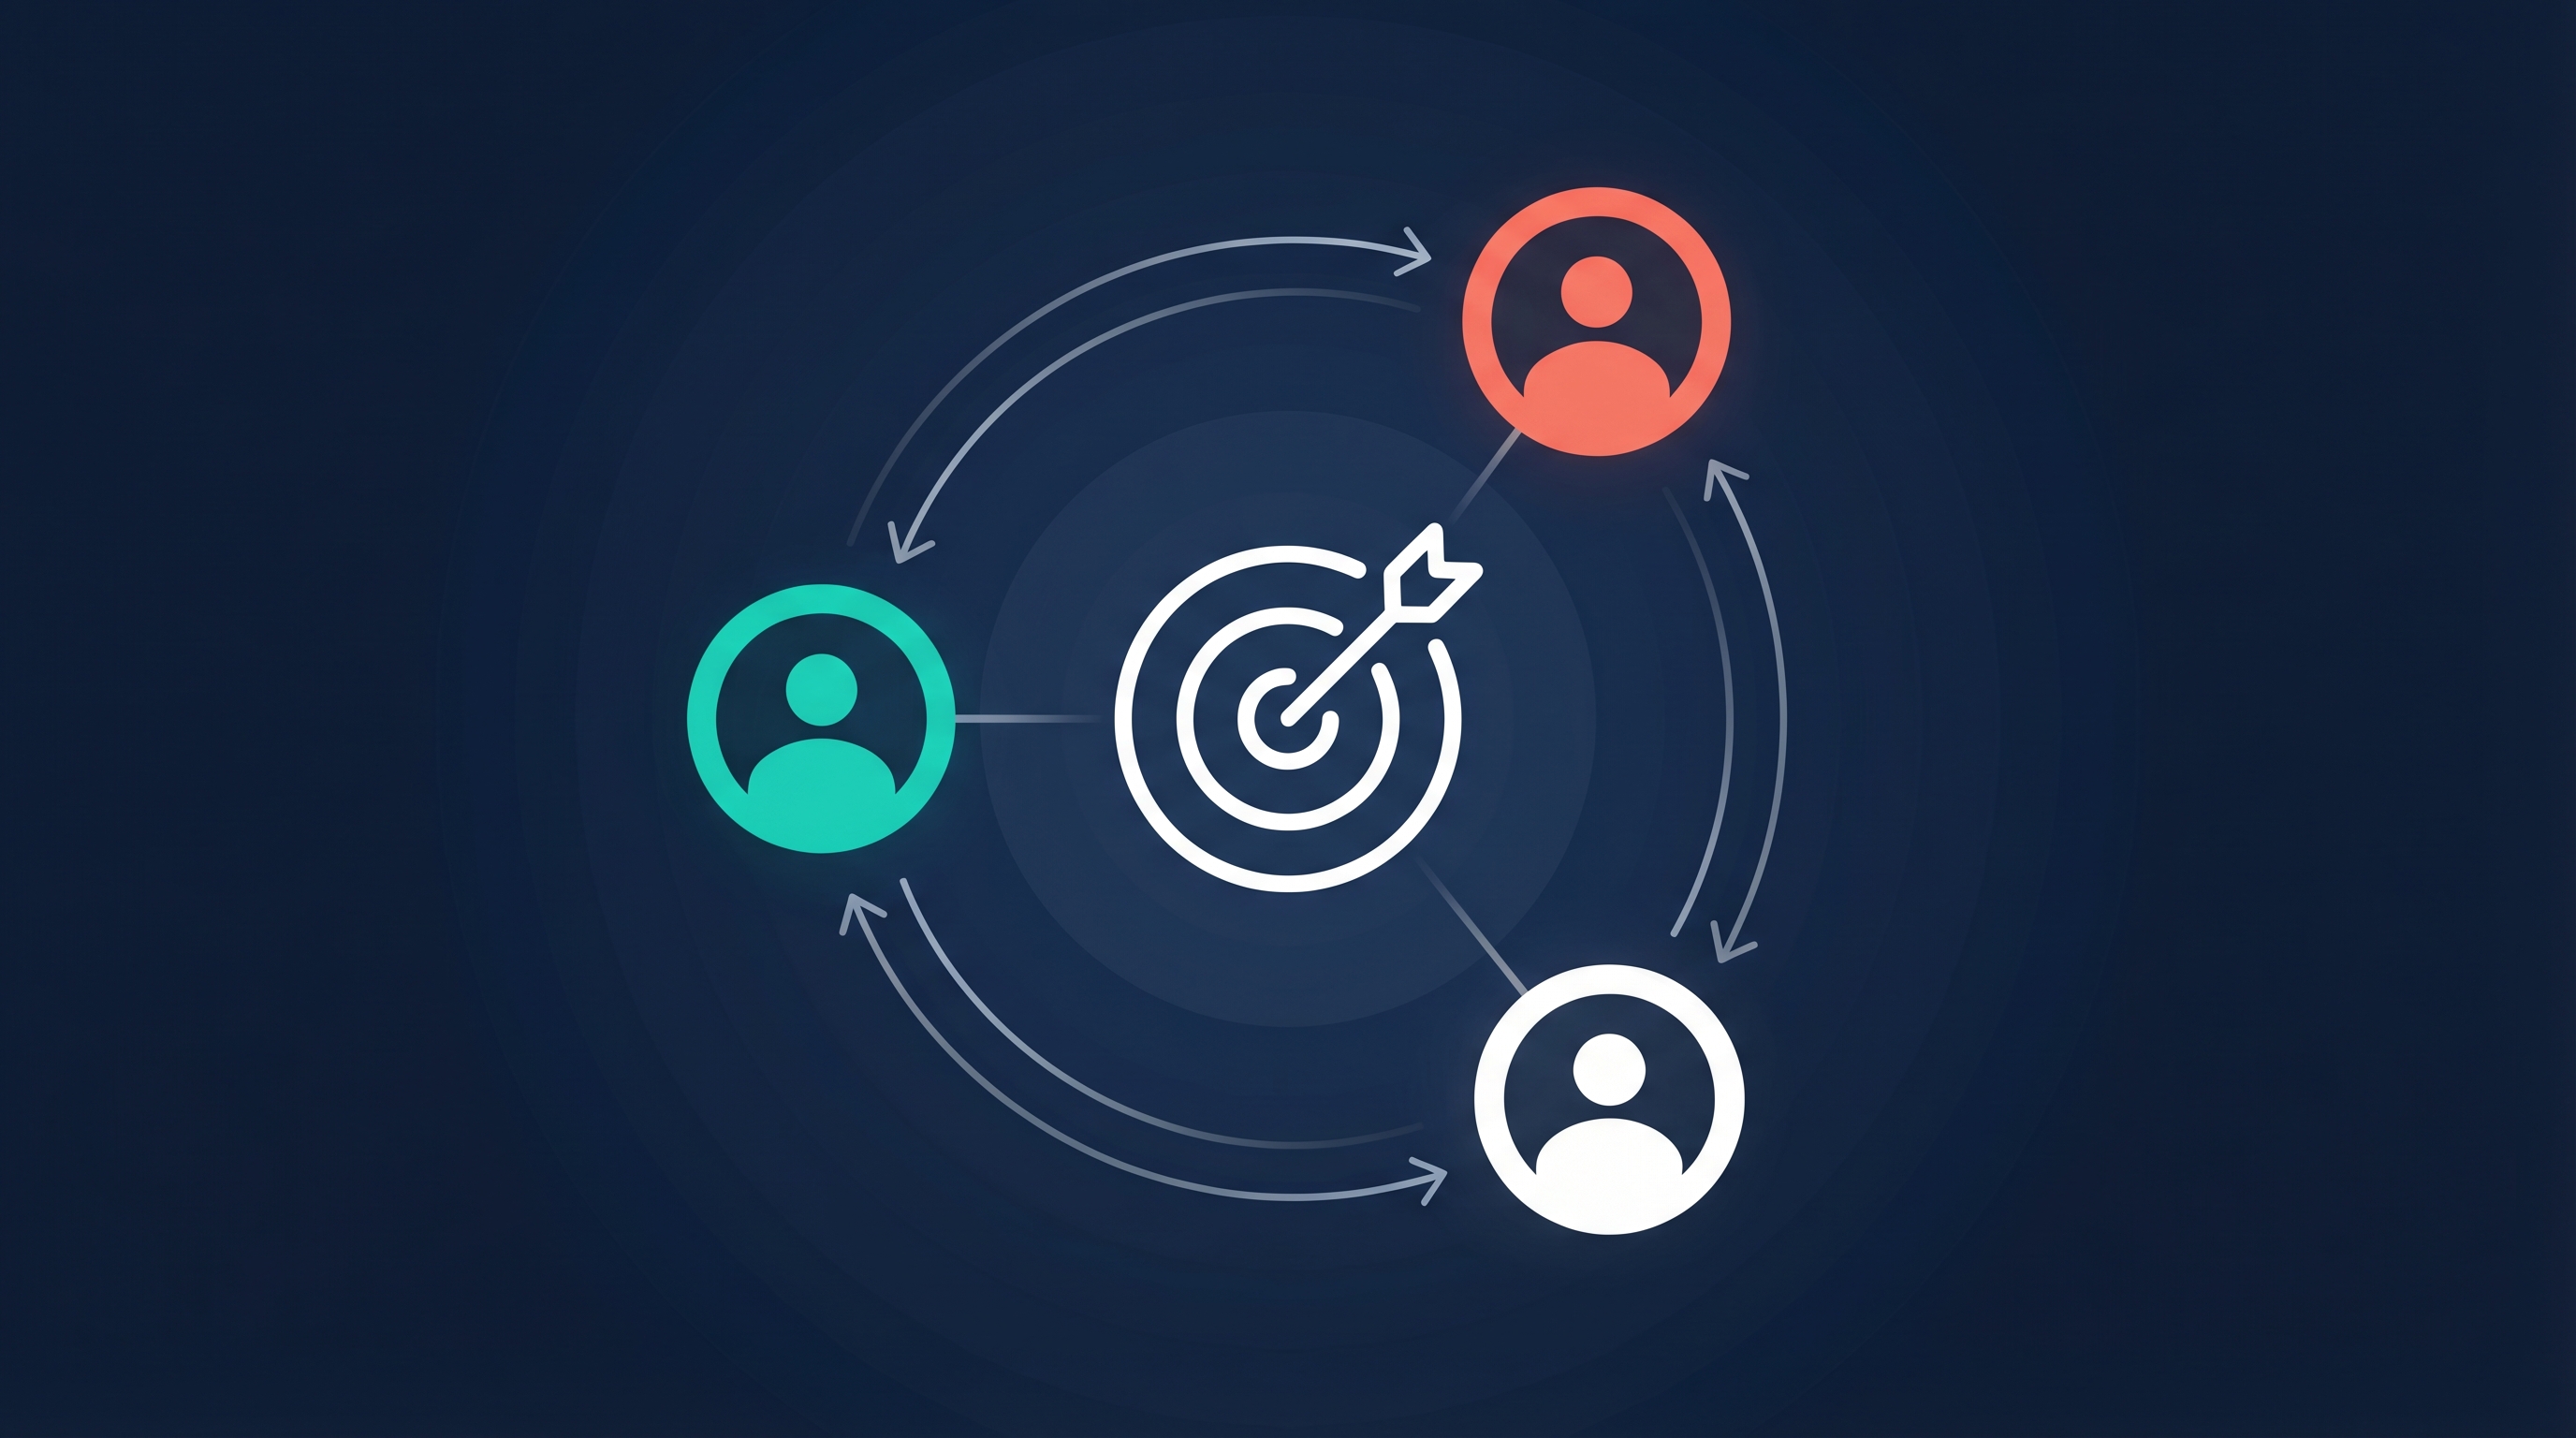
Custom Audiences are the most powerful targeting tool in Meta’s advertising platform. They let you show ads to people who already know your …
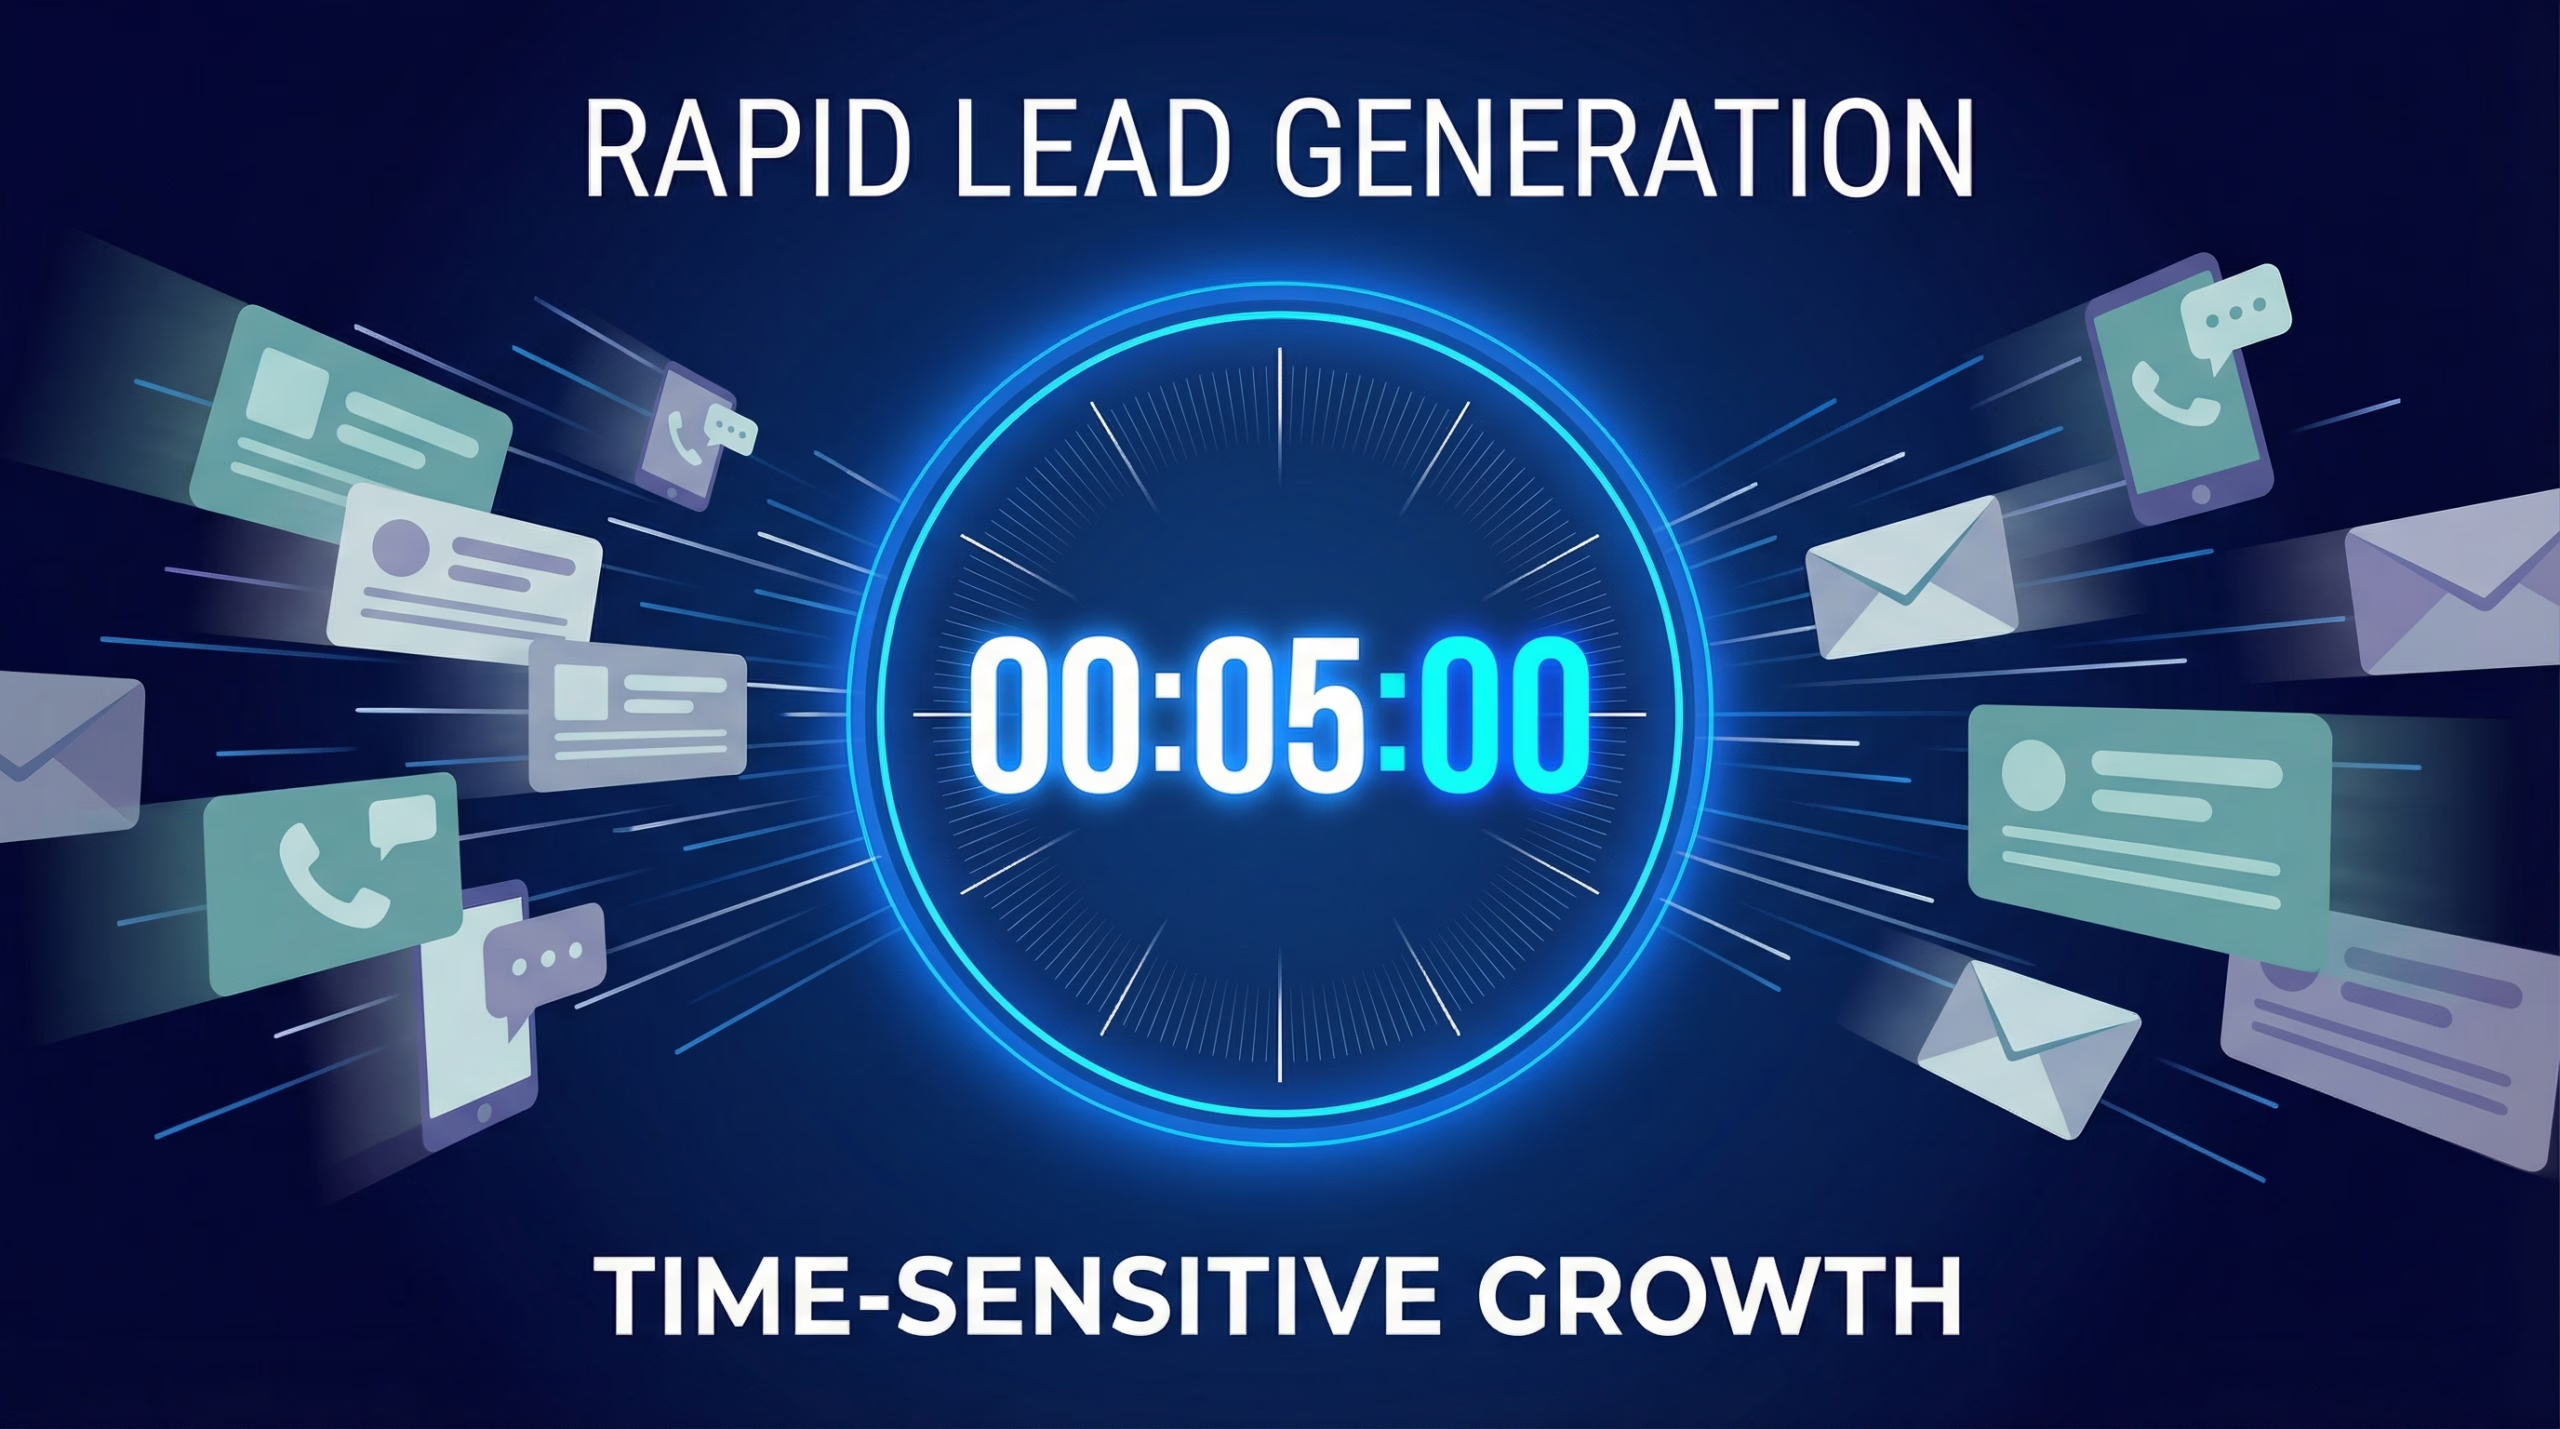
If you’re running Facebook lead ads, every minute counts. Research shows that leads contacted within 5 minutes are 21x more likely to convert — yet …

If you’re running Facebook or Instagram Lead Ads, you’ve probably noticed something frustrating: plenty of leads come in, but too many of them are …
If you run a social media marketing agency, you already know the drill. A client launches a Facebook Lead Ad campaign at 9 AM. By noon, 47 leads are …
![Facebook Ads for Contractors: The Complete Lead Generation Guide [2026]](https://leadsync.me/blog/images/2026/03/facebook-ads-contractors-featured-scaled.avif)
Why Facebook Ads Are a Goldmine for Contractors If you’re a contractor relying solely on word-of-mouth or Google Ads for leads, you’re leaving money …
![HouseCall Pro Integrations: Complete Guide [2026]](https://leadsync.me/blog/images/2026/03/housecall-pro-integrations-featured-scaled.avif)
HouseCall Pro is one of the most popular field service management platforms, trusted by thousands of home services contractors across the US. But to …
The stat that changed how I think about lead generation: A lead called within 5 minutes is 100 times more likely to be contacted than one called 30 …
AWeber is built for automating email sequences and growing your list. But it can’t directly import leads from Google Lead Generation Forms. That gap …
Copper CRM is built for Google Workspace teams. If you’re running your business on Gmail and Google Calendar, Copper is your natural CRM home. But …