Following is a step by step guide that will show you how to use Meta Lead Ads (Facebook & Instagram) to generate fresh local real estate “for sale” listings.
What Are Meta Lead Ads aka Instant form Ads?
If you’re not familiar with the Meta lead form ad format, lead ads simplify the way potential customers express interest in your products or services by allowing them to fill out enquiry forms from within the Facebook and Instagram apps. The instant forms that appear when someone clicks on your ad are pre-filled with the user’s contact details (from their profile), making the process of submitting a form quick and seamless, particularly on mobile devices. With just a few taps, users can request the information they need, enabling you to capture valuable leads effortlessly.
One of the benefits of the format is that you don’t need to send people to a form on your website. In fact, you don’t even need a website.
Here’s an example of a lead form that I’ll be using using in this guide, just in case you haven’t come across one in your Instagram or Facebook feed:
Creating a Local Lead Ad Campaign
First up, I’m assuming you already have a Facebook business page and a Facebook (Meta) Ad account. If not, go ahead and sign-up for one here.
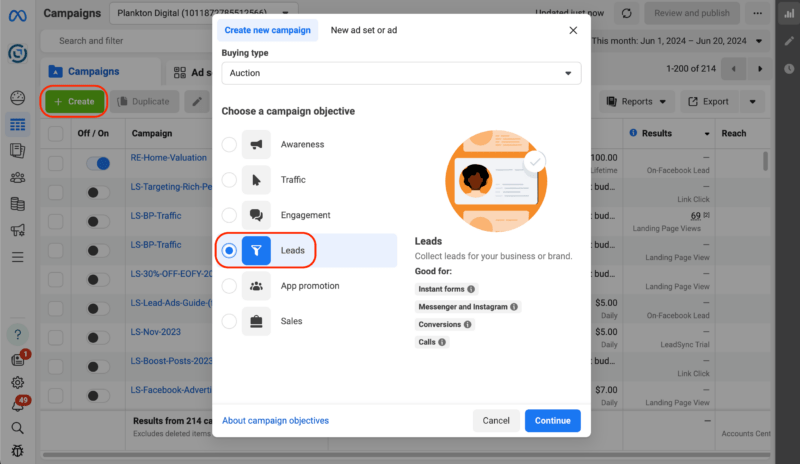
Create a Lead Campaign. In Meta ads manager, click Create then select the Leads option and Continue.
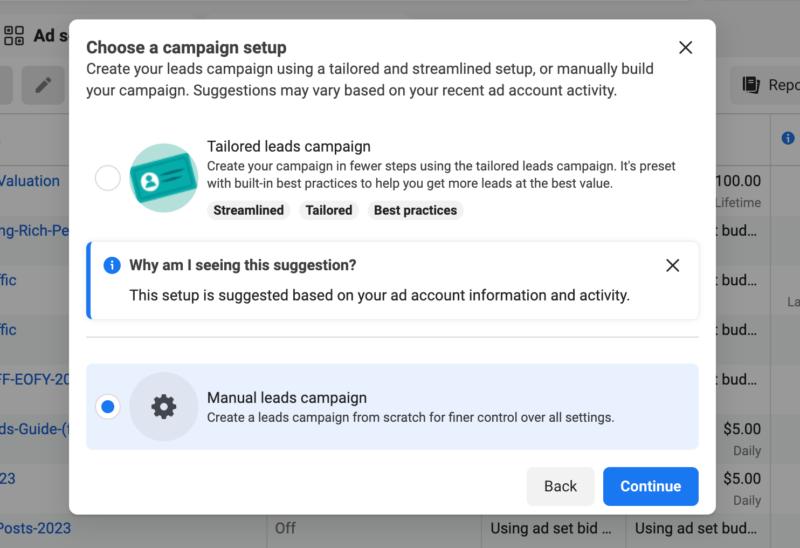
Choose the Manual lead campaign setup. We’re going to use the Manual leads campaign option to five us the most control over our audience targeting. Call me cynical, I believe most advertising networks try to offer you an Auto-optimized option that better suits their returns than yours 😉
Name Your Campaign. Go ahead and name your campaign. If you’re creating this for your own Real Estate Agency, you might choose to name it according to the time of the year. We all know that for sale listings pick up during Spring time right!?

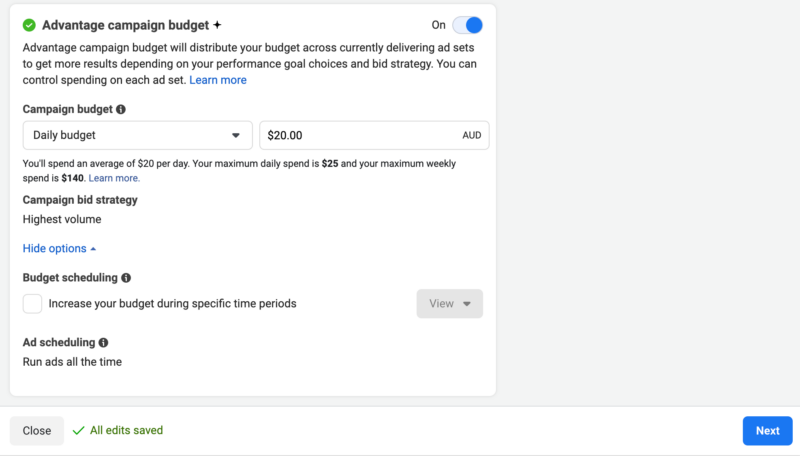
Choose Your Daily Budget. If you’re just starting out, use a budget you’re comfortable with. I’d suggest no less than $10 per day. Click Next to continue.
Name your Ad Set and select Instant Forms. Naming convention wise, I tend to use the target location as the Ad Set name. Be sure to select Instant forms as the Conversion location.
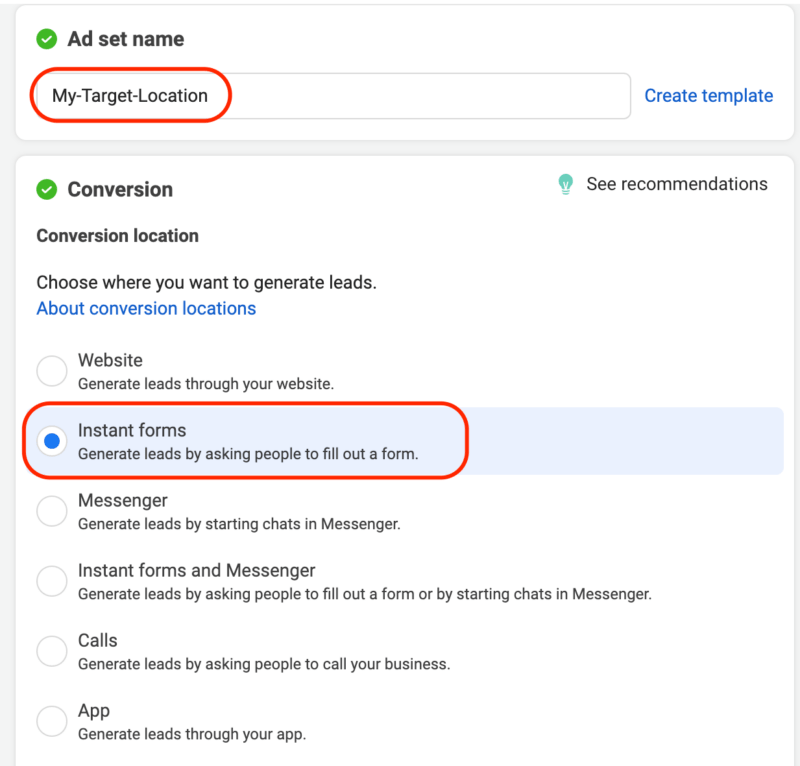
Select Your Facebook Page. If you haven’t run lead ad campaigns before, here’s where you may be asked to accepts Meta’s terms of service, go ahead and do that and make sure Maximize number of leads is selected.

Building Your Target Audience
Now for the most important part: building your target Audience.
Add your ZIP/Postcode locations. Given that we want to target specific geographic locations with our lead ad campaign, here’s how to add Zip code or Post codes as into the Locations target section.
Switch to original audience options and select you age range. I’m not sure what house prices are like in your neck of the woods, but in this example I’m targeting some of the wealthiest suburbs of Melbourne. It’s unlikely that anyone under the age of 25 (let alone 35) owns property, so I’ve switched to original audience options so we can define the are range we wish to target.
Once you’ve selected your desired audience age range, click Next to move on to creating your Ads.
Designing Your Ads
Coming up with ad creative is usually where people come unstuck. We’re not all naturally gifted designers or know how to use tools like Canva (my preferred design tool for Meta Ads) and not everyone has access or can afford to use a graphic designer.
If you can afford 50 bucks, then jump over to fiverr and ask a designer to design you 4 to 6 ads that are 1200 x 1200 pixels.
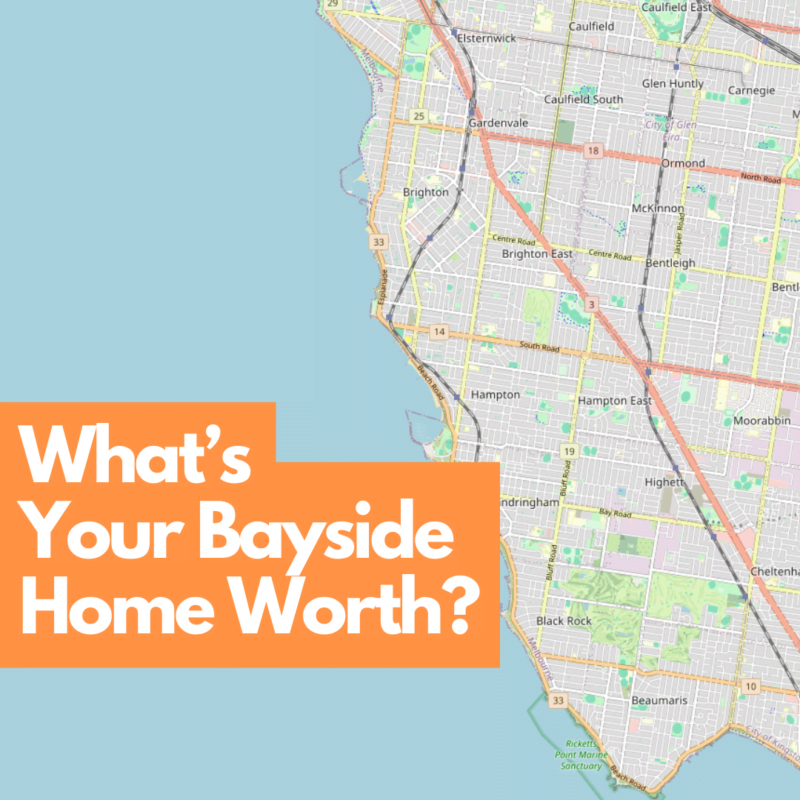
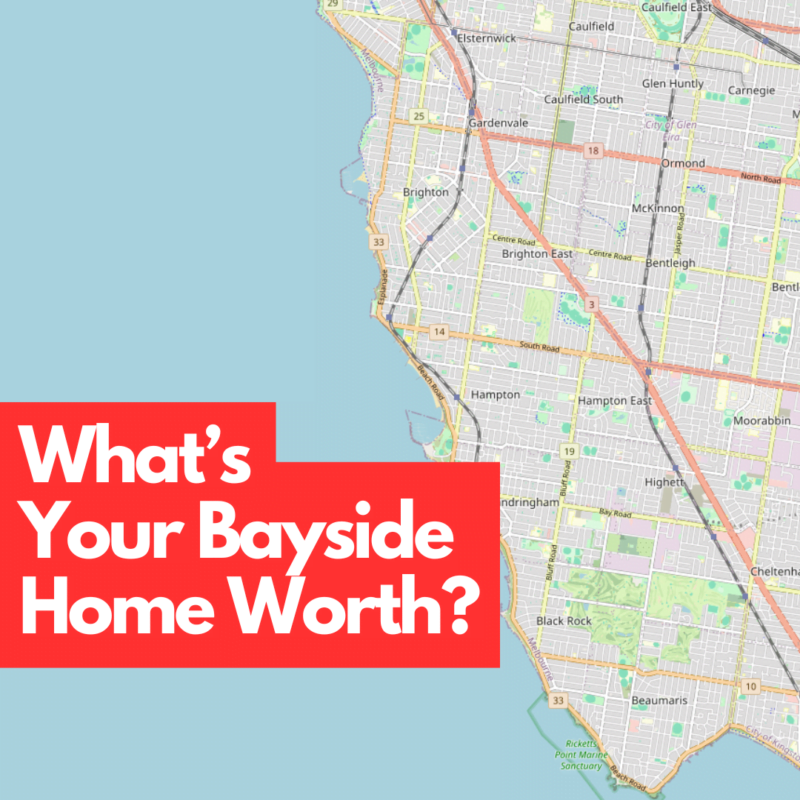
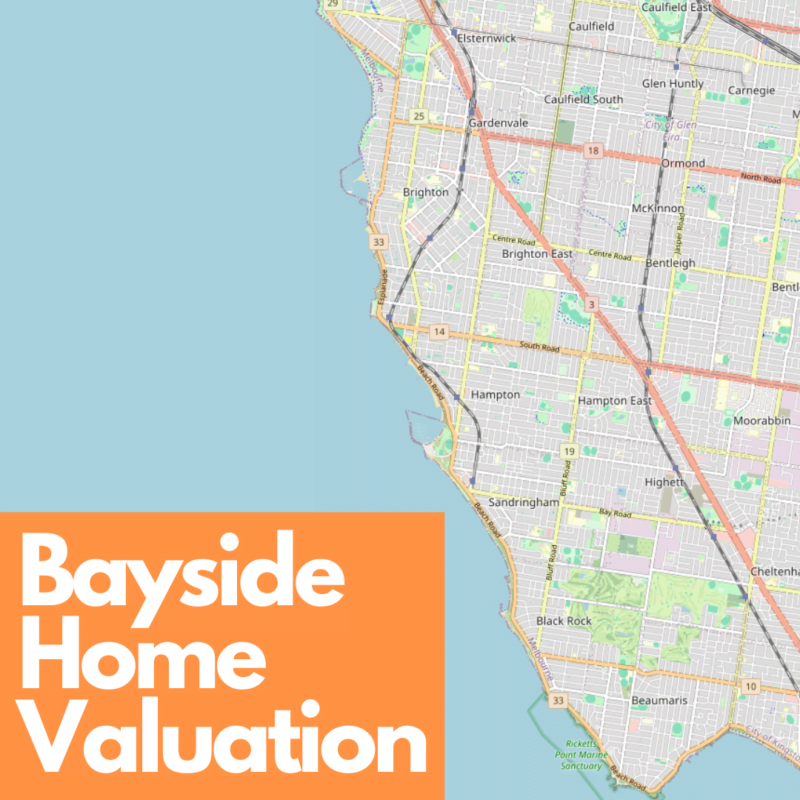
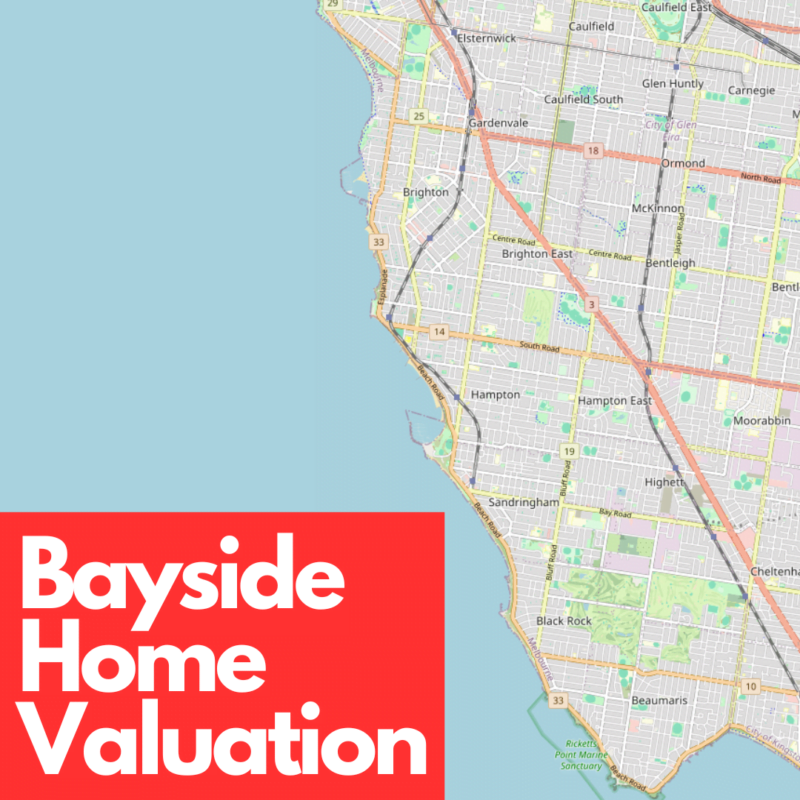
The way we created the images for this campaign was by taking a screenshot of the region on OpenStreetMap.org, popping them in to Canva and adding a short call to action. I always recommend you test multiple versions of your ads and you can always look for inspiration via the Facebook ad library.
Here are some examples:
Writing Your Ad Copy
In the Primary text area, you want to add you main sales copy. Here’s what I used, feel free to “repurpose” it. You might even ask ChatGPT to write a few different versions or use Meta’s own suggestions.
Wondering about your Bayside home’s current value?
📈 Interest rates have climbed, and some house prices have shifted significantly.
📲 Tap “Learn More” to get an accurate, up-to-date home evaluation from a local expert. Skip the generic online estimates and get a precise assessment today.”
ChatGPT
Write your Headline and Select Your Call to Action
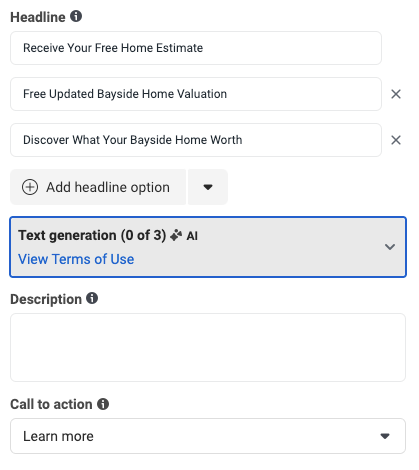
Again, feel free to steal these headlines or ask an AI to generate some for you. It’s always good practice to split test and be sure to use your target location in some of the headlines to make them more relevant to your target audience. I tend to prefer Learn more as a CTA.
Create Your Lead Form
Given the steps involved and the options available, I’ve checkout the following video that will show you how to create your lead form.
As mentioned in the video, you’ll need to link to a privacy policy in your form. If you don’t already have one, use our privacy policy generator.
Once you’ve created your lead form and added a few ad variations (using the same lead form), go ahead and publish your campaign.
Accessing your Leads
Once your campaign starts generating leads, there are a couple of ways to access them:
- Use LeadSync to set up lead email notifications 🤓
- Download your leads manually
- Use one of our other CRM integrations or use Zapier.

